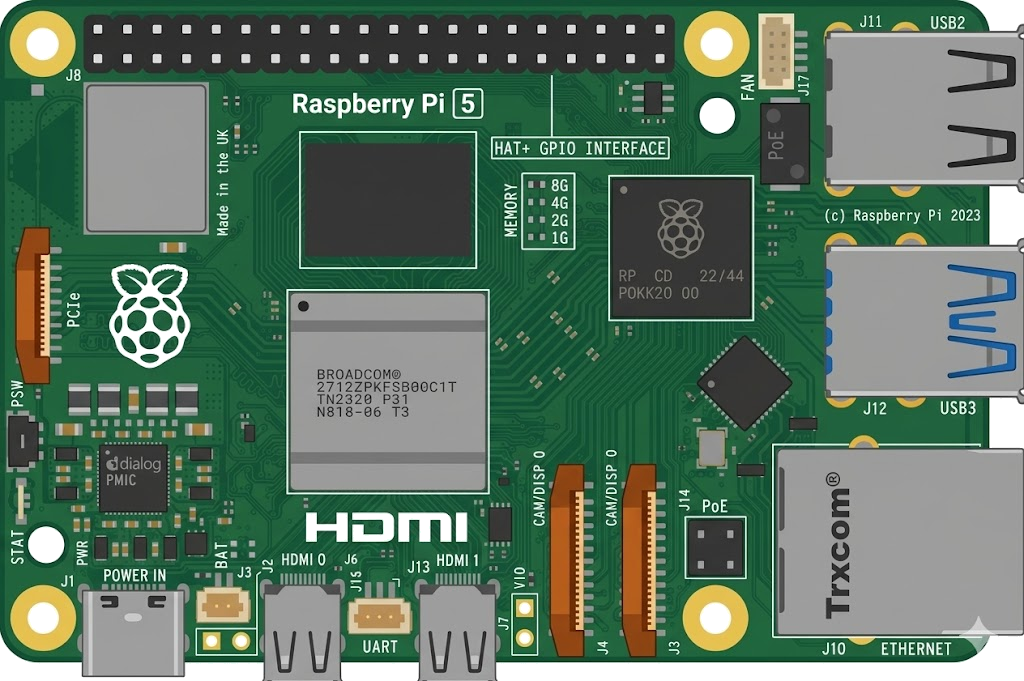
Arduino, running the sketch you wrote
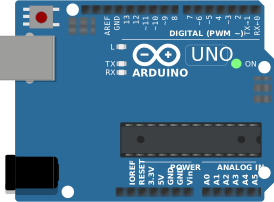
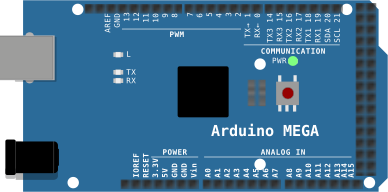
arduino-cli compiles it, an AVR8 core executes it instruction by instruction, and the LCD shows what the ATmega328P actually put on the bus. Uno, Nano, Mega and ATtiny85, no board on your desk.

Hardware is all about iteration. Velxio lets you wire a circuit, program the board and run it in seconds, real firmware on a real solver, right in the browser.





DFRobot · M5Stack links on this page are affiliate links: a purchase through them earns Velxio a small commission at no extra cost to you.
Nothing on this page is a scripted animation: the firmware is compiled and executed, and the circuit around it is solved.
arduino-cli compiles it, an AVR8 core executes it instruction by instruction, and the LCD shows what the ATmega328P actually put on the bus. Uno, Nano, Mega and ATtiny85, no board on your desk.
arduino-cli or ESP-IDF compiles the sketch, then AVR8, RP2040, RISC-V, Xtensa or ARM executes it instruction by instruction. What the OLED draws and what the serial monitor prints is what the chip actually did.

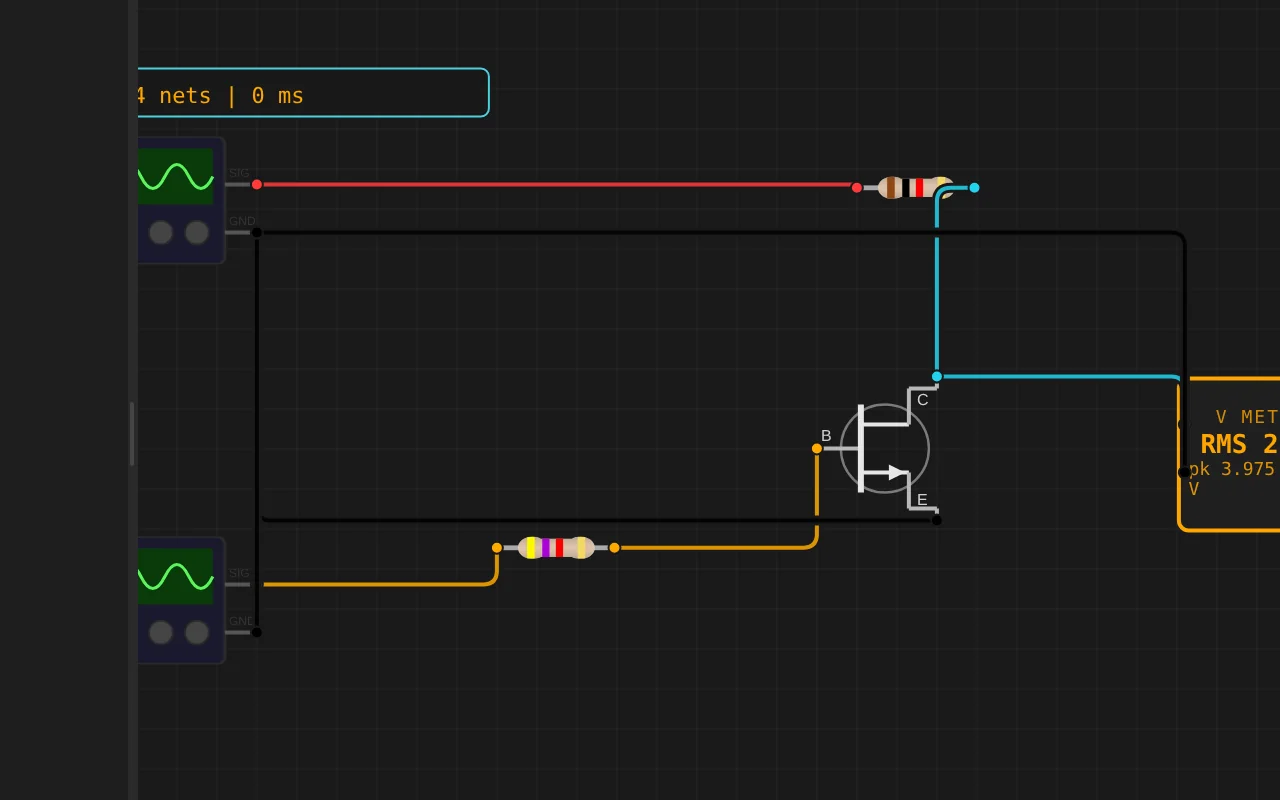
ngspice compiled to WebAssembly runs a full nodal analysis about 60 times a second. GPIO pins drive real nets, ADC inputs read solved node voltages, and probes report RMS, DC and current wherever you drop them.
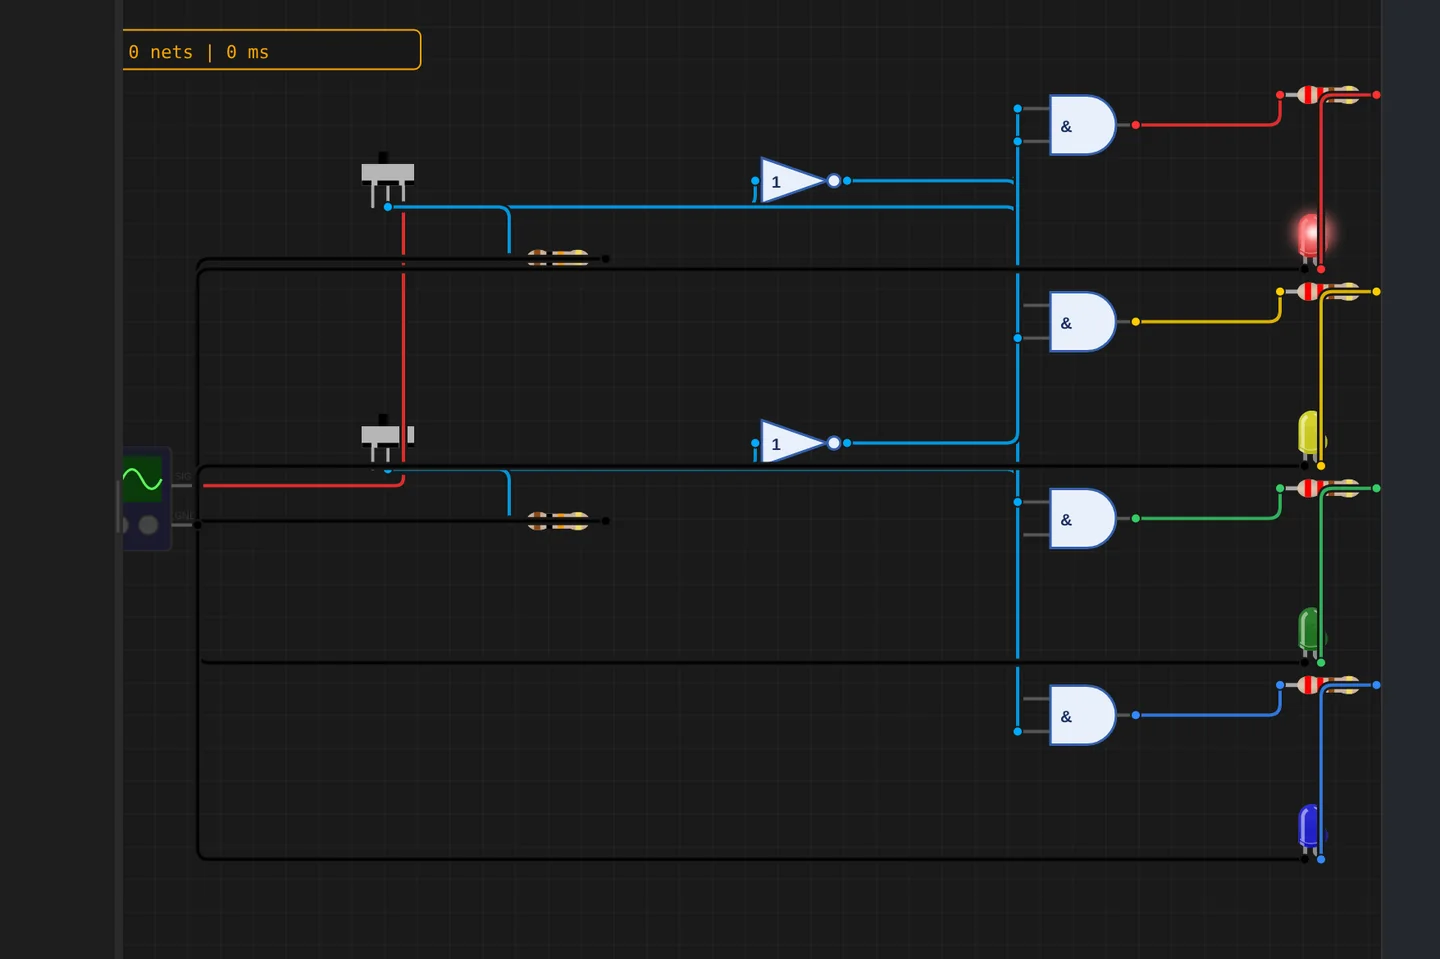
Adders, comparators, decoders, flip-flops and a 1-bit ALU slice: no microcontroller anywhere, just gates, switches and LEDs solved as a real net. The classroom half of electronics, without the breadboard.
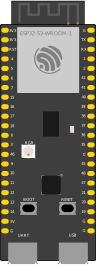
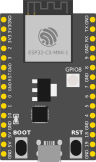
The M5Stack Cardputer with its keyboard, Seeed's round display keeping time, Pimoroni's Badger 2350 driving e-paper, and DFRobot's UNIHIKER M10 in the catalogue alongside them. Their makers sent the hardware so the emulation could be checked against the real thing.
35 boards across 6 CPU architectures — AVR8, ARM Cortex-M, ARM Cortex-A, RISC-V, Xtensa, and Linux. Including partner boards from Pimoroni, M5Stack, Seeed Studio and DFRobot. All running locally, no cloud needed.






One institution contract gives every student in the class a full Pro account. No per-seat checkout, no card details in a classroom.
Private projects, BOM and schematic exports, GitHub Sync and the offline desktop app, for everyone enrolled.
Billed once to your institution, per semester or per year. Volume pricing on request for large cohorts.
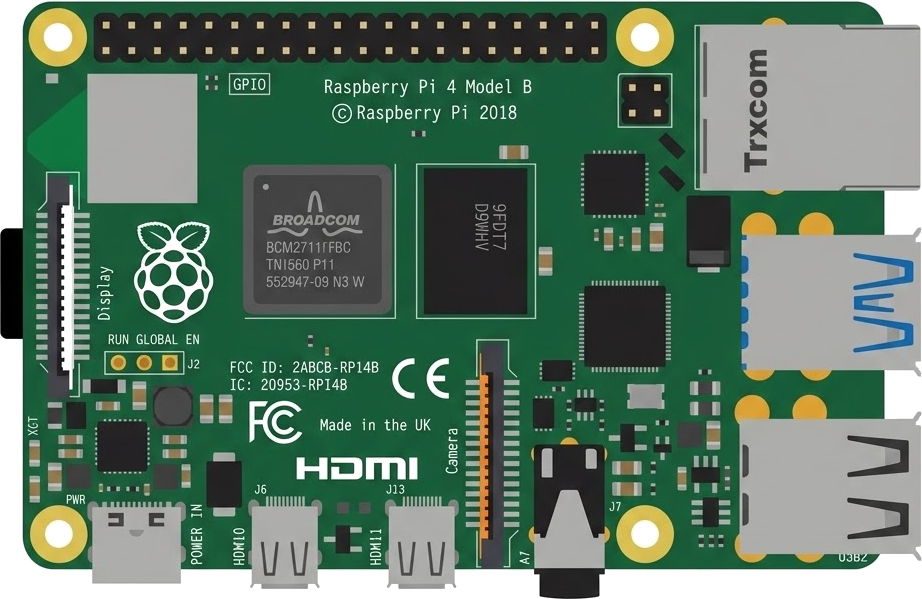
Arduino, ESP32, RP2040, STM32, ATtiny and Raspberry Pi, with SPICE analog solved alongside the firmware. Not a sandboxed mock.
The simulator stays free forever. Paid plans unlock the Linux and STM32 boards, WiFi and the offline desktop app. Maker and Pro add the AI agent; No AI leaves it out.
Discover the simulator + light AI help.
The full workbench, zero AI. You write every line.
For makers shipping real circuits with AI help.
Private projects, GitHub Sync and BOM exports.
Questions, bugs and ideas: the Discord and the issue tracker are open, and so is every line of the simulator.
在 ESP32-S3 和 ILI9341 显示屏上绘制文字 mnrois
An interactive ESP32-S3 circuit simulation you can run free in your browser on Velxio, by janvelxio.
#include <SPI.h>
#include <Adafruit_GFX.h>
#include <Adafruit_ILI9341.h>
#include <Preferences.h>          // ESP32 掉电保存

//================ 屏幕 SPI 引脚 ================
#define TFT_CS   10
#define TFT_DC    9
#define TFT_RST   8
#define TFT_SCK  12
#define TFT_MOSI 11
#define TFT_MISO 13

//================ 触摸引脚 ================
#define TOUCH_CS  7
#define TOUCH_IRQ 6

//================ 继电器控制引脚 ================
const int RELAY_PIN[6] = {14, 18, 19, 21, 22, 23};

//================ 触摸校准参数 ================
#define TX_MIN 100
#define TX_MAX 1959
#define TY_MIN 1950   // 顶部
#define TY_MAX 100    // 底部

#define TOUCH_Z_THRESHOLD 100
#define TOUCH_DEBOUNCE_MS 200

//================ 【1. 这里可以修改按键文字和字体大小】================
const char* buttonLabels[6] = {"CD", "PHONO", "FM", "Balance", "AUX", "Decoder"}; // 按键文字
#define BUTTON_TEXT_SIZE 1                                    // 按键字体大小 (可改 2, 3, 4)

//================ 【2. 音量进度条参数配置】================
#define BAR_X 30      // 进度条左上角X
#define BAR_Y 180     // 进度条左上角Y
#define BAR_W 280     // 进度条宽度
#define BAR_H 50      // 进度条高度
#define BAR_TEXT_SIZE 2 // 进度条字体大小

SPIClass hspi(HSPI);
Adafruit_ILI9341 tft(&hspi, TFT_DC, TFT_CS, TFT_RST);
Preferences prefs;

// 按键结构体
struct Button {
  int x;
  int y;
  int w;
  int h;
  uint16_t Color_on;
  uint16_t Color_off;
  uint16_t text_Color_on;
  uint16_t text_Color_off;
};

Button buttons[6] = {
  {10,  100, 45, 25, ILI9341_CYAN,   ILI9341_DARKCYAN, ILI9341_ORANGE, ILI9341_WHITE}, // a 按键
  {60, 100, 45, 25, ILI9341_CYAN,    ILI9341_DARKCYAN, ILI9341_ORANGE, ILI9341_WHITE}, // b
  {110, 100, 45, 25, ILI9341_CYAN,    ILI9341_DARKCYAN, ILI9341_BLACK, ILI9341_WHITE}, // c
  {160,  100, 45, 25, ILI9341_CYAN,  ILI9341_DARKCYAN, ILI9341_ORANGE, ILI9341_WHITE}, // d
  {210, 100, 45, 25, ILI9341_CYAN, ILI9341_DARKCYAN, ILI9341_WHITE, ILI9341_WHITE}, // e
  {260, 100, 45, 25, ILI9341_CYAN,  ILI9341_DARKCYAN, ILI9341_BLACK, ILI9341_WHITE}  // f
};

bool ch[6] = {false};
int  currentCh = -1;
int  volume = 50;                 // 默认音量 50 (范围 1~100)
unsigned long lastTouchMs = 0;

//================ 触摸读取 ================
uint16_t readTouch(uint8_t cmd)
{
  hspi.beginTransaction(SPISettings(1000000, MSBFIRST, SPI_MODE0));
  digitalWrite(TOUCH_CS, LOW);
  hspi.transfer(cmd);
  uint16_t data  = hspi.transfer(0x00) << 8;
  data |= hspi.transfer(0x00);
  digitalWrite(TOUCH_CS, HIGH);
  hspi.endTransaction();
  return data >> 4;
}

void getTouchXY(uint16_t &x, uint16_t &y, uint16_t &z)
{
  x = readTouch(0x90);
  y = readTouch(0xD0);
  z = readTouch(0xB0);
}

//================ 硬件通道切换 ================
void setChannelHardware(int idx)
{
  for (int i = 0; i < 6; i++)
    digitalWrite(RELAY_PIN[i], (i == idx) ? HIGH : LOW);
}

//================ 【3. 绘制按键 (自动居中)】================
void drawButton(int i)
{
  // ================= 第三步:从数组读取颜色 =================
  // 1. 根据选中状态,从结构体中提取背景色
  uint16_t bgColor = ch[i] ? buttons[i].Color_on : buttons[i].Color_off;

  // 2. 提取文字颜色 (选中时用数组里的,未选中时暂用白色,保证看得清)