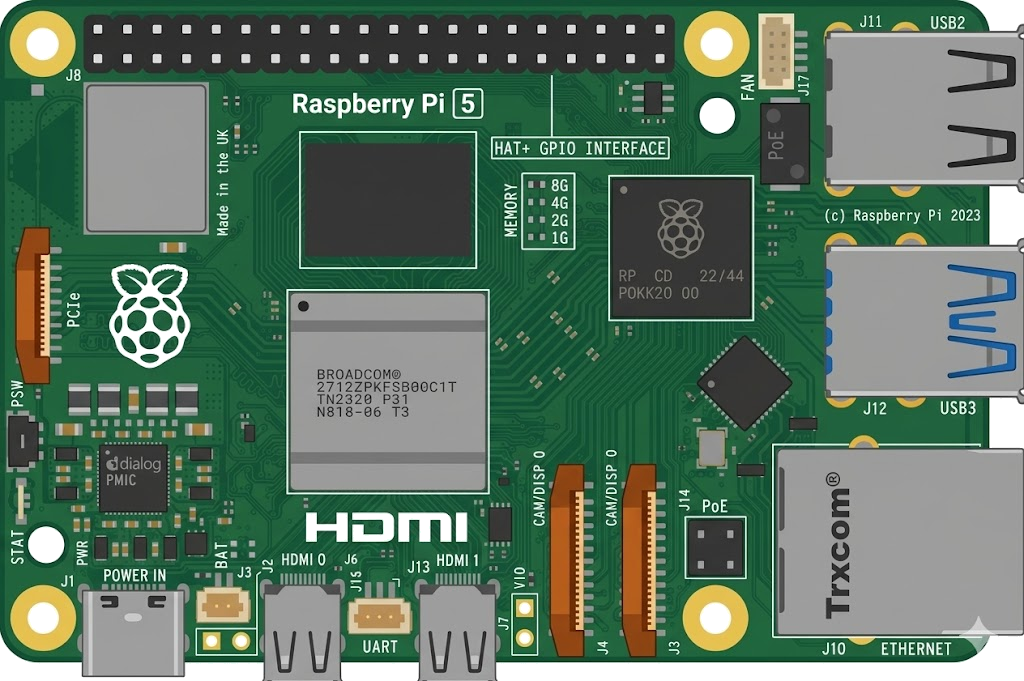
Arduino, running the sketch you wrote
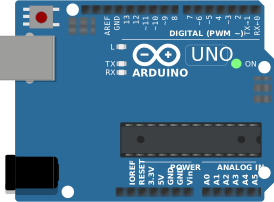
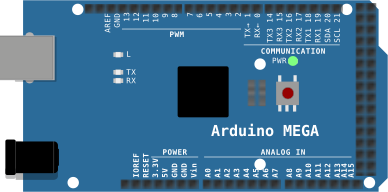
arduino-cli compiles it, an AVR8 core executes it instruction by instruction, and the LCD shows what the ATmega328P actually put on the bus. Uno, Nano, Mega and ATtiny85, no board on your desk.

Hardware is all about iteration. Velxio lets you wire a circuit, program the board and run it in seconds, real firmware on a real solver, right in the browser.





DFRobot · M5Stack links on this page are affiliate links: a purchase through them earns Velxio a small commission at no extra cost to you.
Nothing on this page is a scripted animation: the firmware is compiled and executed, and the circuit around it is solved.
arduino-cli compiles it, an AVR8 core executes it instruction by instruction, and the LCD shows what the ATmega328P actually put on the bus. Uno, Nano, Mega and ATtiny85, no board on your desk.
arduino-cli or ESP-IDF compiles the sketch, then AVR8, RP2040, RISC-V, Xtensa or ARM executes it instruction by instruction. What the OLED draws and what the serial monitor prints is what the chip actually did.

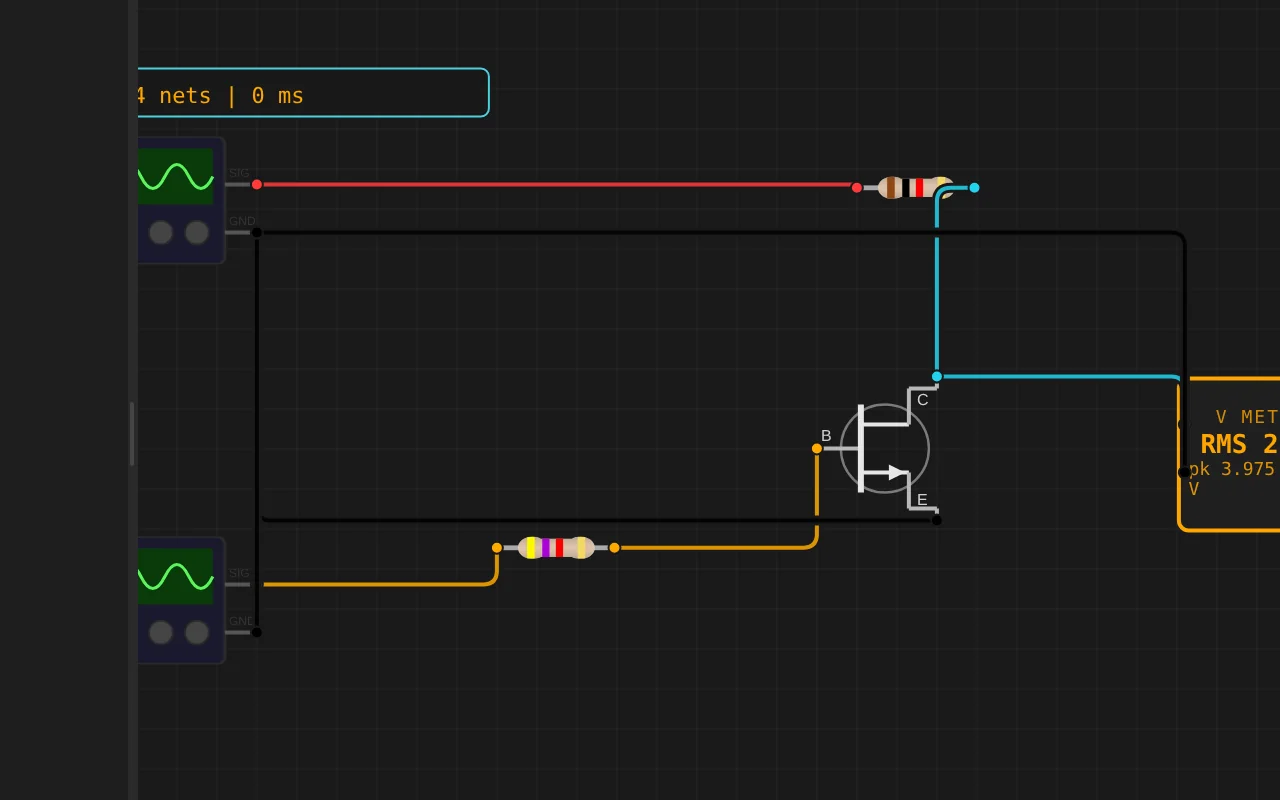
ngspice compiled to WebAssembly runs a full nodal analysis about 60 times a second. GPIO pins drive real nets, ADC inputs read solved node voltages, and probes report RMS, DC and current wherever you drop them.
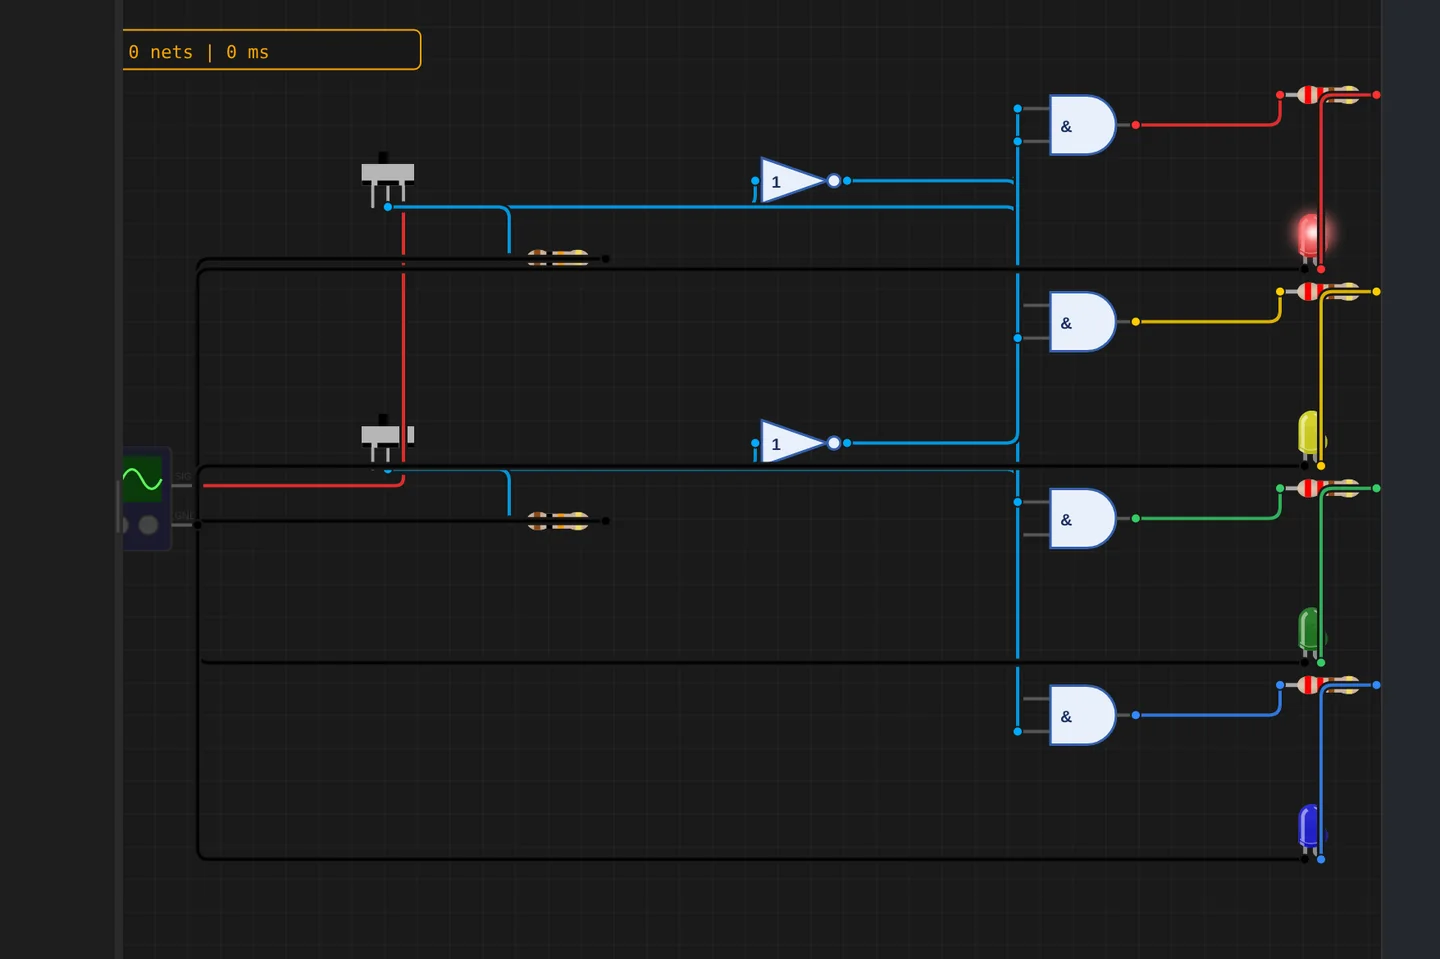
Adders, comparators, decoders, flip-flops and a 1-bit ALU slice: no microcontroller anywhere, just gates, switches and LEDs solved as a real net. The classroom half of electronics, without the breadboard.
The M5Stack Cardputer with its keyboard, Seeed's round display keeping time, Pimoroni's Badger 2350 driving e-paper, and DFRobot's UNIHIKER M10 in the catalogue alongside them. Their makers sent the hardware so the emulation could be checked against the real thing.
35 boards across 6 CPU architectures — AVR8, ARM Cortex-M, ARM Cortex-A, RISC-V, Xtensa, and Linux. Including partner boards from Pimoroni, M5Stack, Seeed Studio and DFRobot. All running locally, no cloud needed.






One institution contract gives every student in the class a full Pro account. No per-seat checkout, no card details in a classroom.
Private projects, BOM and schematic exports, GitHub Sync and the offline desktop app, for everyone enrolled.
Billed once to your institution, per semester or per year. Volume pricing on request for large cohorts.
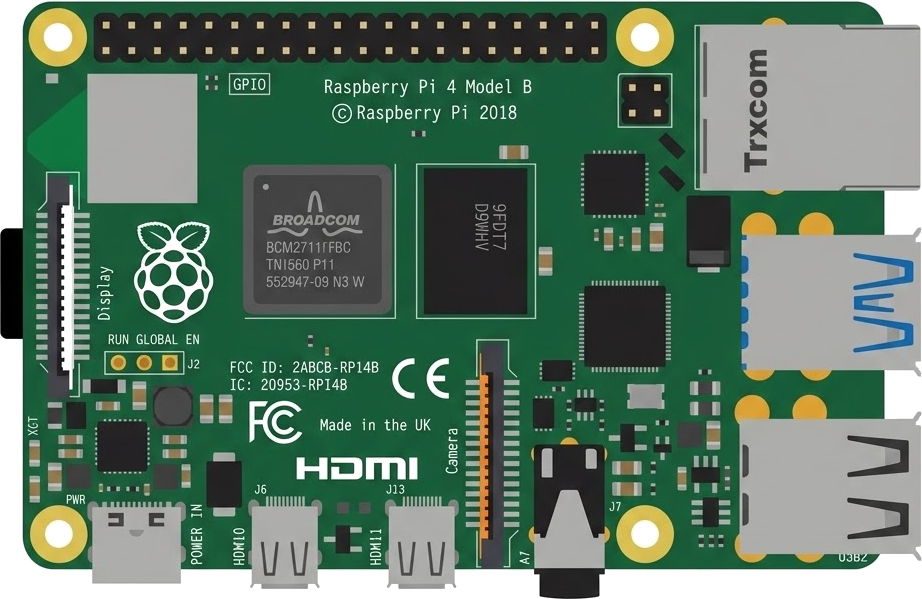
Arduino, ESP32, RP2040, STM32, ATtiny and Raspberry Pi, with SPICE analog solved alongside the firmware. Not a sandboxed mock.
The simulator stays free forever. Paid plans unlock the Linux and STM32 boards, WiFi and the offline desktop app. Maker and Pro add the AI agent; No AI leaves it out.
Discover the simulator + light AI help.
The full workbench, zero AI. You write every line.
For makers shipping real circuits with AI help.
Private projects, GitHub Sync and BOM exports.
Questions, bugs and ideas: the Discord and the issue tracker are open, and so is every line of the simulator.
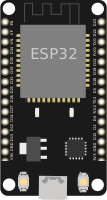
An interactive ESP32-S3 circuit simulation you can run free in your browser on Velxio, by itsmebenn.
#include <Wire.h>
#include <LiquidCrystal_I2C.h>
#include <Keypad.h>
#include <ESP32Servo.h>
#include <PN532/PN532_I2C/PN532_I2C.h>
#include <PN532/PN532/PN532.h>
#include <NfcAdapter.h>
#include <WiFi.h>

#include <PubSubClient.h> // Pastikan library ini sudah ter-install di Velxio
#include "MqttHub.h"

// 1. Deklarasikan klien WiFi
WiFiClient wifiClient;

#define I2C_SDA 8
#define I2C_SCL 9

LiquidCrystal_I2C lcd(0x27, 16, 2);

#define BUZZER_PIN 46

const byte ROWS = 4;
const byte COLS = 4;

char keys[ROWS][COLS] = {
  {'1','2','3','A'},
  {'4','5','6','B'},
  {'7','8','9','C'},
  {'*','0','#','D'}
};

byte rowPins[ROWS] = {7,6,5,4};
byte colPins[COLS] = {14,12,11,10};

Keypad keypad = Keypad(makeKeymap(keys), rowPins, colPins, ROWS, COLS);

// ==========================================
// PENGATURAN KEAMANAN
// ==========================================
String correctPIN = "1234";
String guestPIN = "5678";   // TAMBAHAN: Variabel untuk PIN Tamu
String inputPIN = "";
int wrongAttempts = 0;
int MAX_ATTEMPTS = 3;
bool clearAlarmViaMQTT = false; // Variabel pemicu reset alarm dari jarak jauh

// Ubah nilai ini untuk durasi lockdown (dalam milidetik)
// Contoh: 300000 = 5 menit, 60000 = 1 menit
unsigned long LOCKDOWN_DURATION = 10000;
// ==========================================

Servo myServo;
int servoPin = 21;
int openBtnPin = 45;
int closeBtnPin = 48;
int doorMagnetSwitch = 17;
int belPin = 38;
int trig_pin = 1;
int echo_pin = 2;

// Variabel Status Pintu
bool btnOpenState = HIGH;
bool btnCloseState = HIGH;
bool belState = HIGH;
bool lastBelState = HIGH;
int doorStatus = 0; // 0 open 1 close
bool isFirst = true;
bool successUnlock = false;
bool isIntruderAlarmActive = false;
bool lcdNeedsUpdate = true;
long lastMeasuredDist = -1;

// Timers (Non-blocking variables)
unsigned long lastUltraSonicCheck = 0;
bool isPersonNear = false;
unsigned long lastNfcCheck = 0;
unsigned long buzzerTimer = 0;
unsigned long lcdMessageTimer = 0;
bool isBuzzerOn = false;

// Variabel Lockdown
bool isSystemLocked = false;
unsigned long lockdownTimer = 0;
unsigned long lastTimerUpdate = 0;

PN532_I2C pn532i2c(Wire);
NfcAdapter nfc(pn532i2c);

// Fungsi non-blocking beep tunggal
void triggerShortBeep() {
  for (int i = 0; i < 3; i++) {
    ledcWrite(BUZZER_PIN, 128);
    delay(500);
    ledcWrite(BUZZER_PIN, 0);
    delay(500);
  }
}

// Fungsi Pintu
void openDoor() {
  successUnlock = true;
  for (int a = 0; a <= 180; a += 5) { myServo.write(a); delay(10); }
}

void closeDoor() {
  successUnlock = false;
  for (int a = 180; a >= 0; a -= 5) { myServo.write(a); delay(10); }
}

// Kembalikan ke menu utama
void resetLcdToMain() {
  lcd.clear();
  lcd.setCursor(0, 0);
  lcd.print("Enter PIN:");
  inputPIN = "";
  lcdNeedsUpdate = false;
}

void onMqttMessageReceived(String topic, String payload) {
  Serial.println("MQTT Masuk: [" + topic + "] -> " + payload);

  // Jika ada perintah untuk mereset alarm dari aplikasi/Hub Utama
if (topic ==