Arduino, running the sketch you wrote
arduino-cli compiles it, an AVR8 core executes it instruction by instruction, and the LCD shows what the ATmega328P actually put on the bus. Uno, Nano, Mega and ATtiny85, no board on your desk.

Hardware is all about iteration. Velxio lets you wire a circuit, program the board and run it in seconds, real firmware on a real solver, right in the browser.





DFRobot · M5Stack links on this page are affiliate links: a purchase through them earns Velxio a small commission at no extra cost to you.
Nothing on this page is a scripted animation: the firmware is compiled and executed, and the circuit around it is solved.
arduino-cli compiles it, an AVR8 core executes it instruction by instruction, and the LCD shows what the ATmega328P actually put on the bus. Uno, Nano, Mega and ATtiny85, no board on your desk.
arduino-cli or ESP-IDF compiles the sketch, then AVR8, RP2040, RISC-V, Xtensa or ARM executes it instruction by instruction. What the OLED draws and what the serial monitor prints is what the chip actually did.

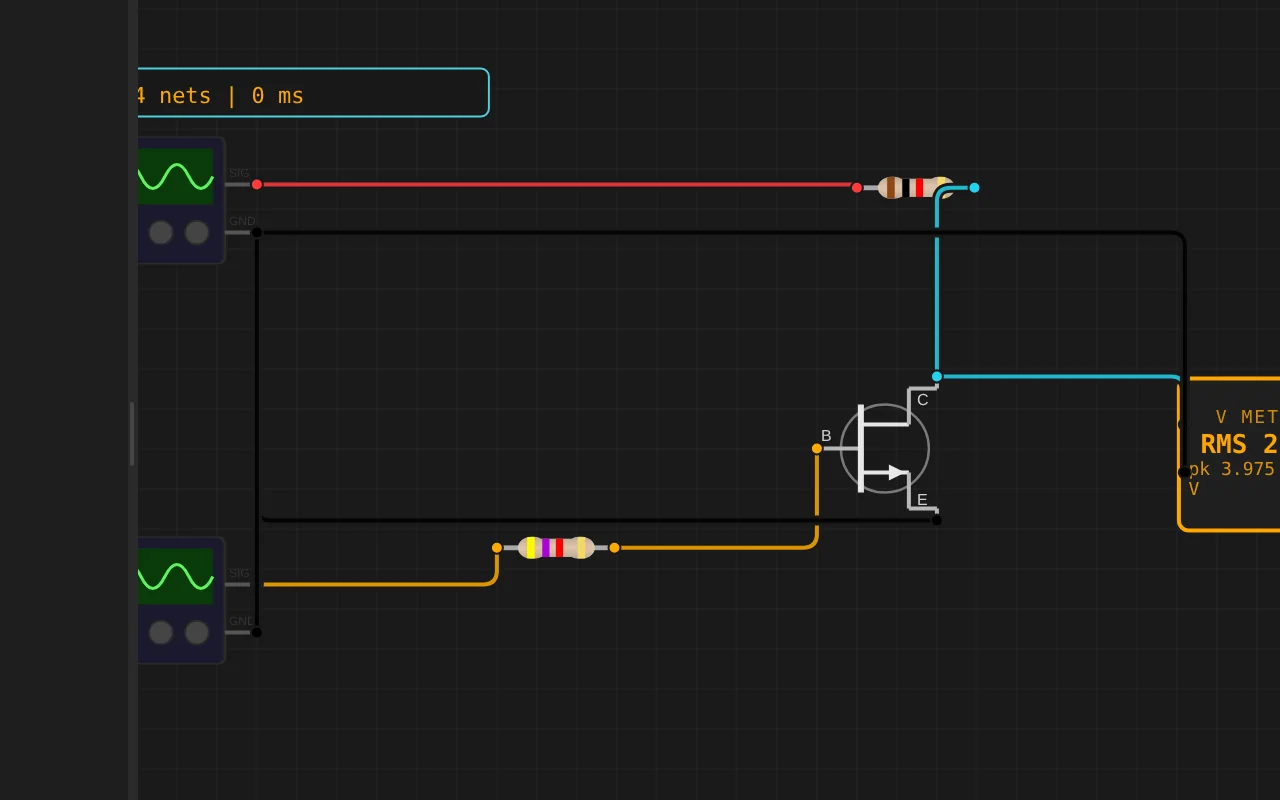
ngspice compiled to WebAssembly runs a full nodal analysis about 60 times a second. GPIO pins drive real nets, ADC inputs read solved node voltages, and probes report RMS, DC and current wherever you drop them.
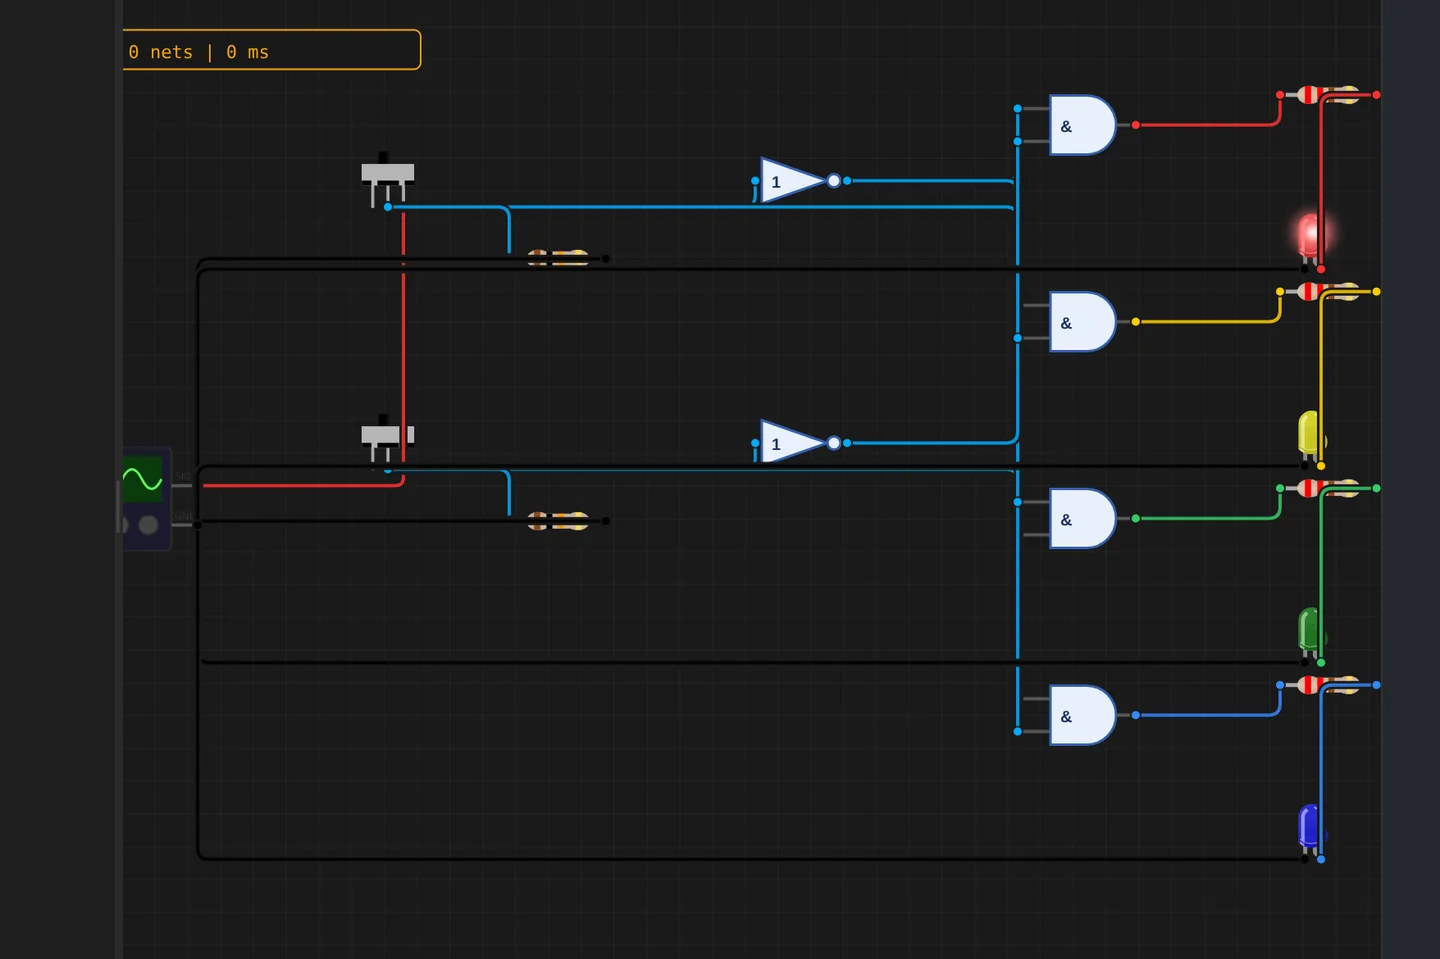
Adders, comparators, decoders, flip-flops and a 1-bit ALU slice: no microcontroller anywhere, just gates, switches and LEDs solved as a real net. The classroom half of electronics, without the breadboard.
The M5Stack Cardputer with its keyboard, Seeed's round display keeping time, Pimoroni's Badger 2350 driving e-paper, and DFRobot's UNIHIKER M10 in the catalogue alongside them. Their makers sent the hardware so the emulation could be checked against the real thing.
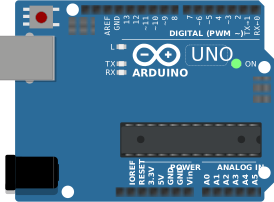
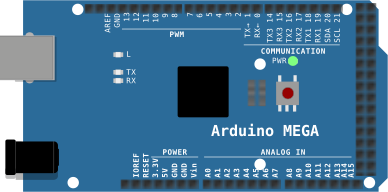
35 boards across 6 CPU architectures — AVR8, ARM Cortex-M, ARM Cortex-A, RISC-V, Xtensa, and Linux. Including partner boards from Pimoroni, M5Stack, Seeed Studio and DFRobot. All running locally, no cloud needed.






One institution contract gives every student in the class a full Pro account. No per-seat checkout, no card details in a classroom.
Private projects, BOM and schematic exports and GitHub Sync, for everyone enrolled.
Billed once to your institution, per semester or per year. Volume pricing on request for large cohorts.
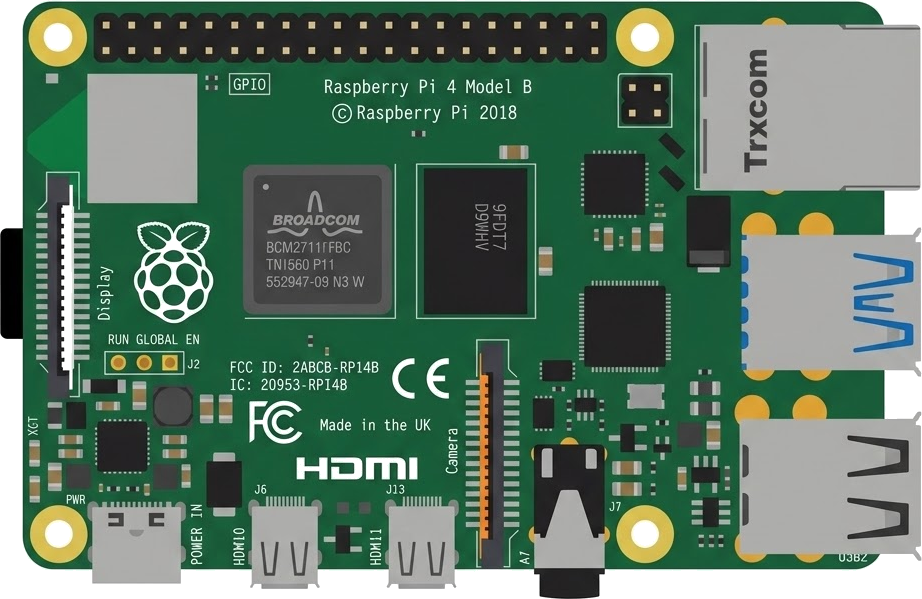
Arduino, ESP32, RP2040, STM32, ATtiny and Raspberry Pi, with SPICE analog solved alongside the firmware. Not a sandboxed mock.
The simulator stays free forever, WiFi with internet included. Paid plans unlock the Linux and STM32 boards, custom WiFi networks and the local network gateway. Maker and Pro add the AI agent; No AI leaves it out.
Discover the simulator + light AI help.
The full workbench, zero AI. You write every line.
For makers shipping real circuits with AI help.
Private projects, GitHub Sync and BOM exports.
Questions, bugs and ideas: the Discord and the issue tracker are open, and so is every line of the simulator.
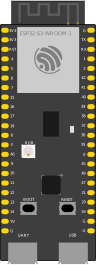
An interactive ESP32-S3 circuit simulation you can run free in your browser on Velxio, by xanderisme.
/*
 * ESP32-S3 板载 RGB LED 七彩闪烁示例
 *
 * 说明:
 * 1. 大多数 ESP32-S3 开发板的板载 RGB 灯(WS2812)连接在 GPIO 48 上。
 *    如果你的板子不同,请将下方的 LED_PIN 修改为对应的引脚号。
 * 2. 需要在 Arduino 库管理器中安装 "Adafruit NeoPixel" 库。
 * 3. 在 Velxio 模拟器中,你可以直接复制此代码运行。
 */

#include <Adafruit_NeoPixel.h>

// 定义引脚和灯珠数量
#define LED_PIN    48  // 板载 RGB LED 连接的引脚
#define LED_COUNT  1   // 我们只有一个板载 RGB 灯

// 初始化 NeoPixel 对象
// 参数依次为:灯珠数量、控制引脚、灯珠类型标志(GRB 表示 绿、红、蓝 的顺序)
Adafruit_NeoPixel rgbLed(LED_COUNT, LED_PIN, NEO_GRB + NEO_KHZ800);

void setup() {
  // 启动串口通信,波特率 115200,方便在模拟器或串口监视器中查看状态
  Serial.begin(115200);

  // 初始化 RGB LED 库
  rgbLed.begin();

  // 初始关闭所有灯珠(全黑)
  rgbLed.clear();

  // 设置全局亮度,范围 0-255。不要设置太高,以免烧坏真实硬件上的灯珠
  // 模拟器中虽然不会烧坏,但保持合理亮度即可
  rgbLed.setBrightness(50);

  // 把设置好的颜色推送到硬件(此时是全黑,即关闭状态)
  rgbLed.show();

  Serial.println("RGB LED 初始化完成,开始七彩闪烁!");
}

void loop() {
  // 定义我们要循环展示的几种颜色
  // 格式为:rgbLed.Color(红色值, 绿色值, 蓝色值) 范围都是 0-255
  uint32_t colors[] = {
    rgbLed.Color(255, 0, 0),   // 红色
    rgbLed.Color(255, 127, 0), // 橙色
    rgbLed.Color(255, 255, 0), // 黄色
    rgbLed.Color(0, 255, 0),   // 绿色
    rgbLed.Color(0, 0, 255),   // 蓝色
    rgbLed.Color(75, 0, 130),  // 靛蓝色
    rgbLed.Color(148, 0, 211)  // 紫色
  };

  // 计算颜色的总数
  int numColors = sizeof(colors) / sizeof(colors[0]);

  // 遍历每一种颜色
  for (int i = 0; i < numColors; i++) {
    // 1. 将当前颜色设置给第 0 个灯珠(我们只有一个灯)
    rgbLed.setPixelColor(0, colors[i]);

    // 2. 刷新,让设置的颜色真正显示出来
    rgbLed.show();

    // 3. 在串口监视器打印当前颜色信息
    Serial.print("当前颜色索引: ");
    Serial.println(i);

    // 4. 保持当前颜色 500 毫秒(半秒钟)
    delay(500);

    // 5. 熄灭灯珠
    rgbLed.setPixelColor(0, 0, 0, 0);
    rgbLed.show();

    // 6. 熄灭状态保持 200 毫秒,形成“闪烁”的效果
    delay(200);
  }
}