Arduino, running the sketch you wrote
arduino-cli compiles it, an AVR8 core executes it instruction by instruction, and the LCD shows what the ATmega328P actually put on the bus. Uno, Nano, Mega and ATtiny85, no board on your desk.

Hardware is all about iteration. Velxio lets you wire a circuit, program the board and run it in seconds, real firmware on a real solver, right in the browser.





DFRobot · M5Stack links on this page are affiliate links: a purchase through them earns Velxio a small commission at no extra cost to you.
Nothing on this page is a scripted animation: the firmware is compiled and executed, and the circuit around it is solved.
arduino-cli compiles it, an AVR8 core executes it instruction by instruction, and the LCD shows what the ATmega328P actually put on the bus. Uno, Nano, Mega and ATtiny85, no board on your desk.
arduino-cli or ESP-IDF compiles the sketch, then AVR8, RP2040, RISC-V, Xtensa or ARM executes it instruction by instruction. What the OLED draws and what the serial monitor prints is what the chip actually did.

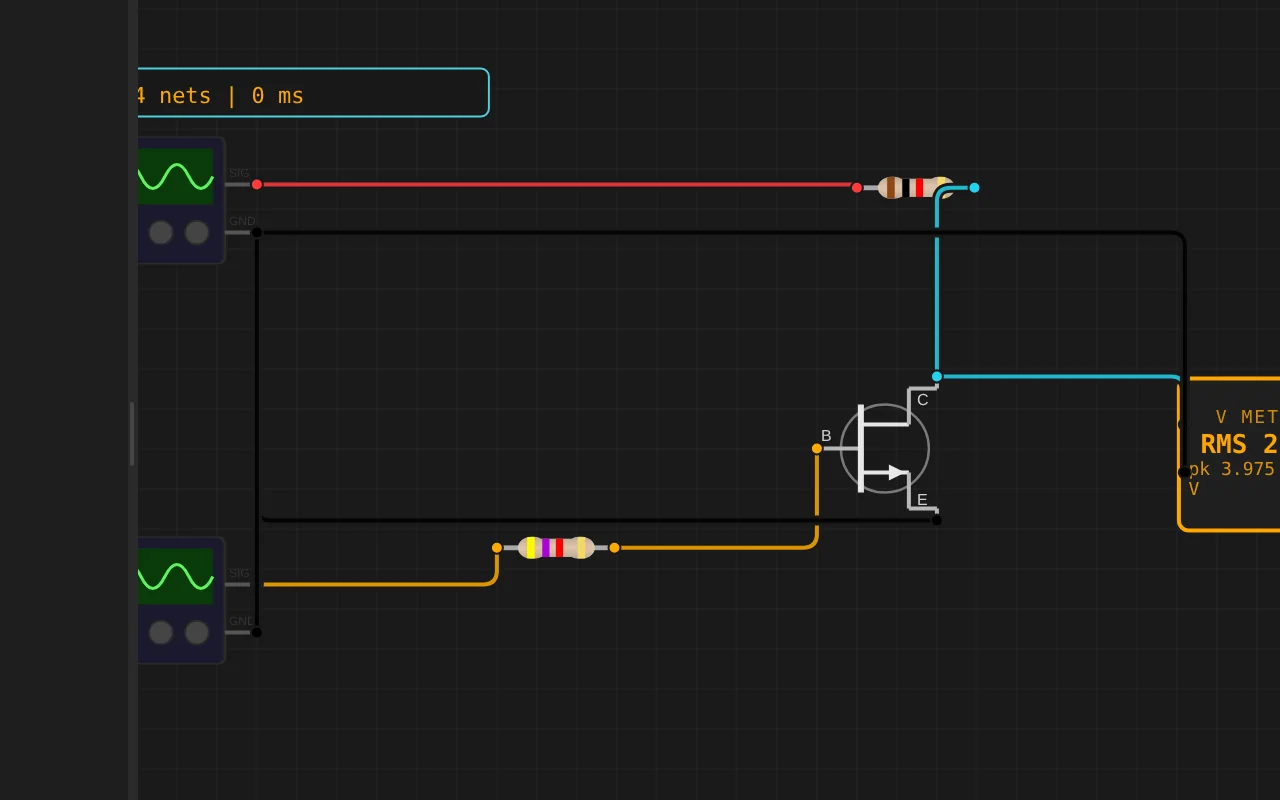
ngspice compiled to WebAssembly runs a full nodal analysis about 60 times a second. GPIO pins drive real nets, ADC inputs read solved node voltages, and probes report RMS, DC and current wherever you drop them.
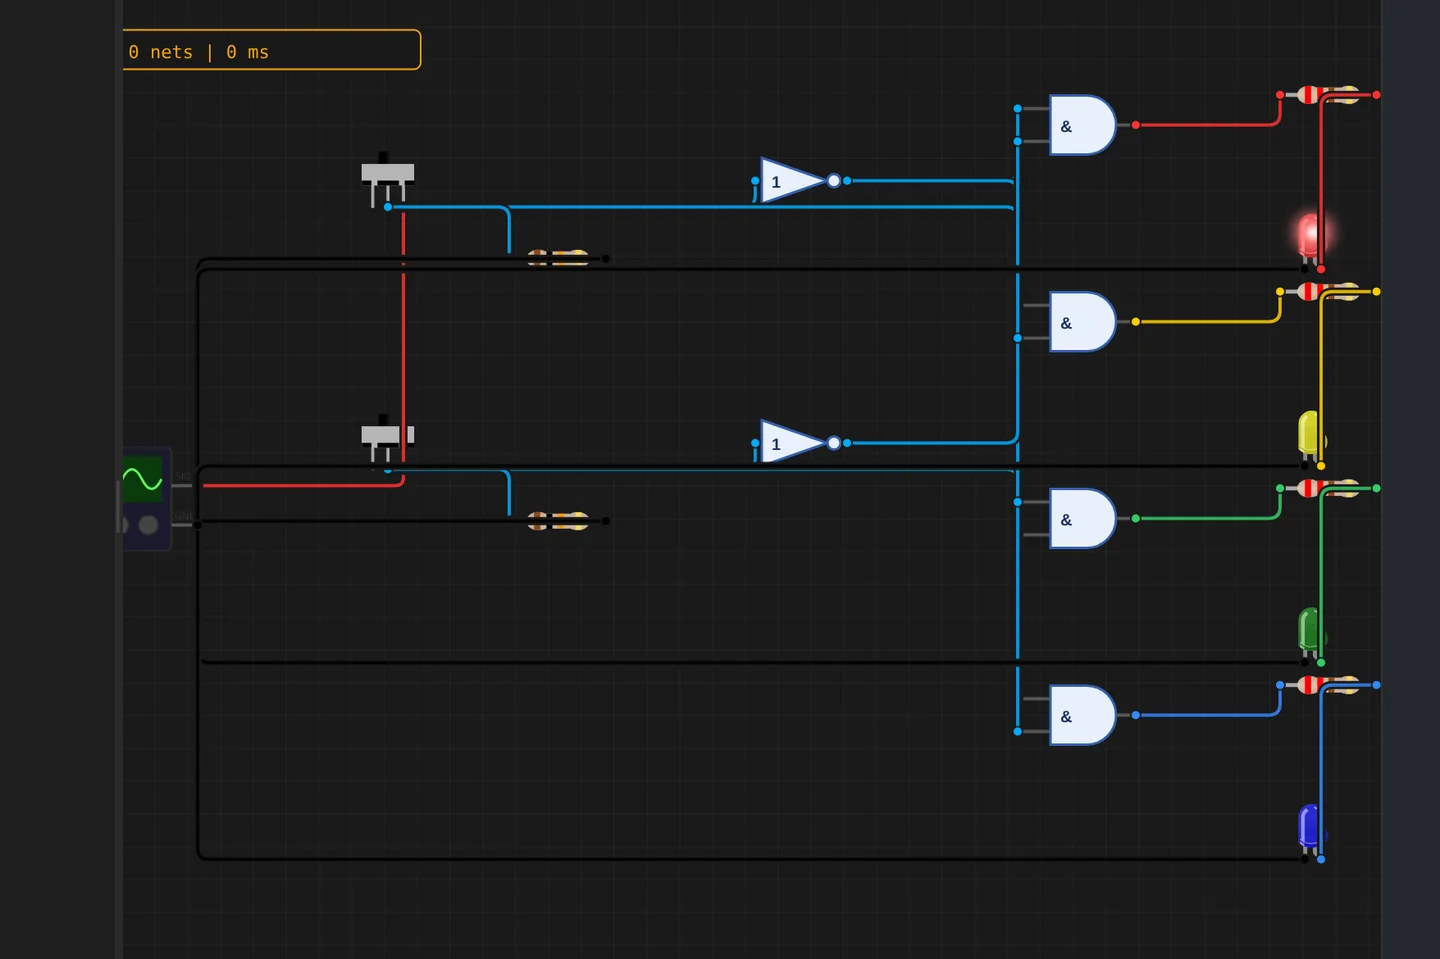
Adders, comparators, decoders, flip-flops and a 1-bit ALU slice: no microcontroller anywhere, just gates, switches and LEDs solved as a real net. The classroom half of electronics, without the breadboard.
The M5Stack Cardputer with its keyboard, Seeed's round display keeping time, Pimoroni's Badger 2350 driving e-paper, and DFRobot's UNIHIKER M10 in the catalogue alongside them. Their makers sent the hardware so the emulation could be checked against the real thing.
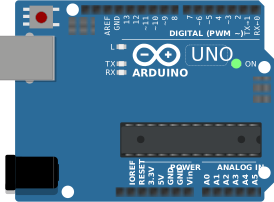
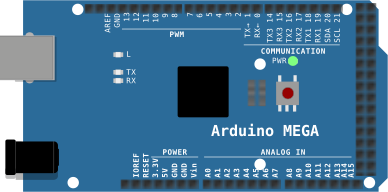
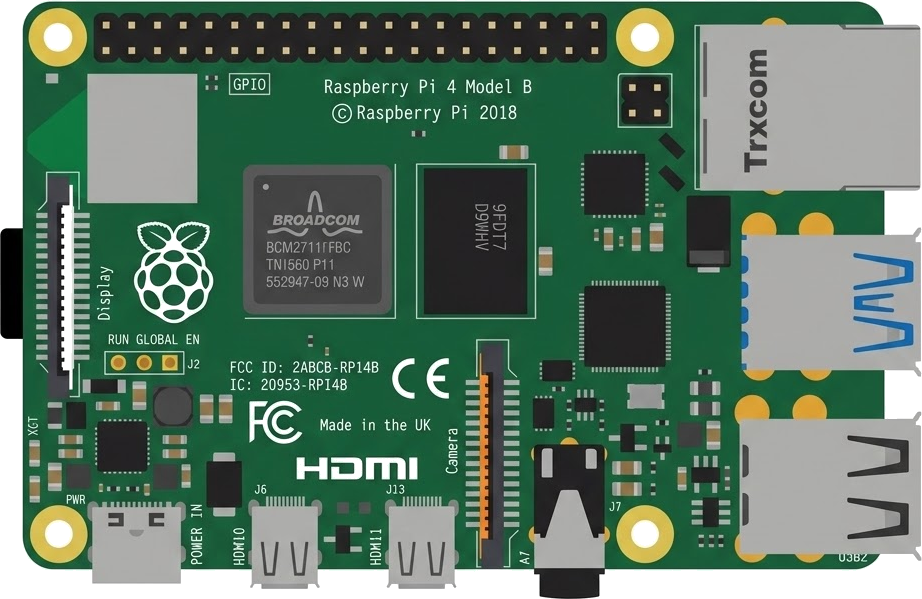
35 boards across 6 CPU architectures — AVR8, ARM Cortex-M, ARM Cortex-A, RISC-V, Xtensa, and Linux. Including partner boards from Pimoroni, M5Stack, Seeed Studio and DFRobot. All running locally, no cloud needed.






One institution contract gives every student in the class a full Pro account. No per-seat checkout, no card details in a classroom.
Private projects, BOM and schematic exports and GitHub Sync, for everyone enrolled.
Billed once to your institution, per semester or per year. Volume pricing on request for large cohorts.
Arduino, ESP32, RP2040, STM32, ATtiny and Raspberry Pi, with SPICE analog solved alongside the firmware. Not a sandboxed mock.
The simulator stays free forever, WiFi with internet included. Paid plans unlock the Linux and STM32 boards, custom WiFi networks and the local network gateway. Maker and Pro add the AI agent; No AI leaves it out.
Discover the simulator + light AI help.
The full workbench, zero AI. You write every line.
For makers shipping real circuits with AI help.
Private projects, GitHub Sync and BOM exports.
Questions, bugs and ideas: the Discord and the issue tracker are open, and so is every line of the simulator.
Система измерения расстояния с датчиком VL53L0X, RGB-светодиодом и звуковым оповещением.
An interactive Arduino Uno circuit simulation you can run free in your browser on Velxio, by sophiia.
#include <Wire.h>
#include <Adafruit_VL53L0X.h>

// Об'єкт для роботи з лазерним далекоміром
Adafruit_VL53L0X lox = Adafruit_VL53L0X();

// Визначення пінів для підключення компонентів
const int redPin = 9;      // Червоний канал RGB світлодіода
const int greenPin = 10;   // Зелений канал RGB світлодіода
const int buzzerPin = 8;   // П'єзодинамік (Buzzer)

// Змінні для створення переривчастих сигналів без використання delay
unsigned long prevMillis = 0; // Час останньої зміни стану звуку
bool buzzState = false;       // Поточний стан динаміка (вкл/викл)

void setup() {
  // Налаштування пінів як виходів
  pinMode(redPin, OUTPUT);
  pinMode(greenPin, OUTPUT);
  pinMode(buzzerPin, OUTPUT);

  // Ініціалізація Серійного монітора на швидкості 115200
  Serial.begin(115200);

  // Перевірка та ініціалізація датчика відстані
  if (!lox.begin()) {
    Serial.println(F("Error: VL53L0X not found!"));
    while (1); // Зупинка програми у разі помилки підключення
  }

  Serial.println(F("System started."));
}

void loop() {
  // Змінна для зберігання результатів вимірювання
  VL53L0X_RangingMeasurementData_t measure;

  // Зчитування поточної відстані
  lox.rangingTest(&measure, false);

  // Якщо статус вимірювання коректний отримаємо відстань у мм
  if (measure.RangeStatus != 4) {
    int dist = measure.RangeMilliMeter;

    // Вивід поточної відстані в серійний монітор
    Serial.print(F("Dist: "));
    Serial.print(dist);
    Serial.print(F(" mm | Mode: "));

    // 1) Безпечна зона (> 1 м)
    if (dist > 1000) {
      Serial.println(F("SAFE "));

      digitalWrite(greenPin, HIGH);
      digitalWrite(redPin, LOW);
      noTone(buzzerPin);
      buzzState = false;
    }

    // 2) Зона уваги (від 0.5 м - 1 м)
    else if (dist >= 500 && dist <= 1000) {
      Serial.println(F("WARNING "));

      digitalWrite(greenPin, HIGH);
      digitalWrite(redPin, HIGH);

      // Обчислюємо тривалість паузи між піками (чим ближче, тим частіше)
      int delayTime = map(dist, 500, 1000, 60, 450);

      // Перемикаємо звук за допомогою таймера millis()
      if (millis() - prevMillis >= delayTime) {
        prevMillis = millis();
        buzzState = !buzzState;      // Інвертуємо стан (вкл -> викл / викл -> вкл)

        if (buzzState) {
          tone(buzzerPin, 1000);     // Подаємо звук частотою 1000 Гц
        } else {
          noTone(buzzerPin);         // Робимо паузу у звуці
        }
      }
    }

    // 3) Критична зона (< 0.5 м)
    else {
      Serial.println(F("CRITICAL "));

      digitalWrite(greenPin, LOW);
      digitalWrite(redPin, HIGH);
      tone(buzzerPin, 2000);
    }
  }

  // Якщо датчик повернув помилку або об'єкт занадто далеко
  else {
    Serial.println(F("Sensor error / Out of range"));

    digitalWrite(greenPin, LOW);     // Вимикаємо індикацію
    digitalWrite(redPin, LOW);
noTone(buzzerPin);