Arduino, running the sketch you wrote
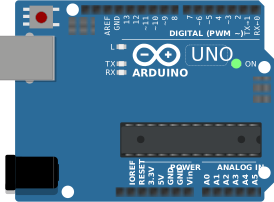
arduino-cli compiles it, an AVR8 core executes it instruction by instruction, and the LCD shows what the ATmega328P actually put on the bus. Uno, Nano, Mega and ATtiny85, no board on your desk.

Hardware is all about iteration. Velxio lets you wire a circuit, program the board and run it in seconds, real firmware on a real solver, right in the browser.





DFRobot · M5Stack links on this page are affiliate links: a purchase through them earns Velxio a small commission at no extra cost to you.
Nothing on this page is a scripted animation: the firmware is compiled and executed, and the circuit around it is solved.
arduino-cli compiles it, an AVR8 core executes it instruction by instruction, and the LCD shows what the ATmega328P actually put on the bus. Uno, Nano, Mega and ATtiny85, no board on your desk.
arduino-cli or ESP-IDF compiles the sketch, then AVR8, RP2040, RISC-V, Xtensa or ARM executes it instruction by instruction. What the OLED draws and what the serial monitor prints is what the chip actually did.

ngspice compiled to WebAssembly runs a full nodal analysis about 60 times a second. GPIO pins drive real nets, ADC inputs read solved node voltages, and probes report RMS, DC and current wherever you drop them.
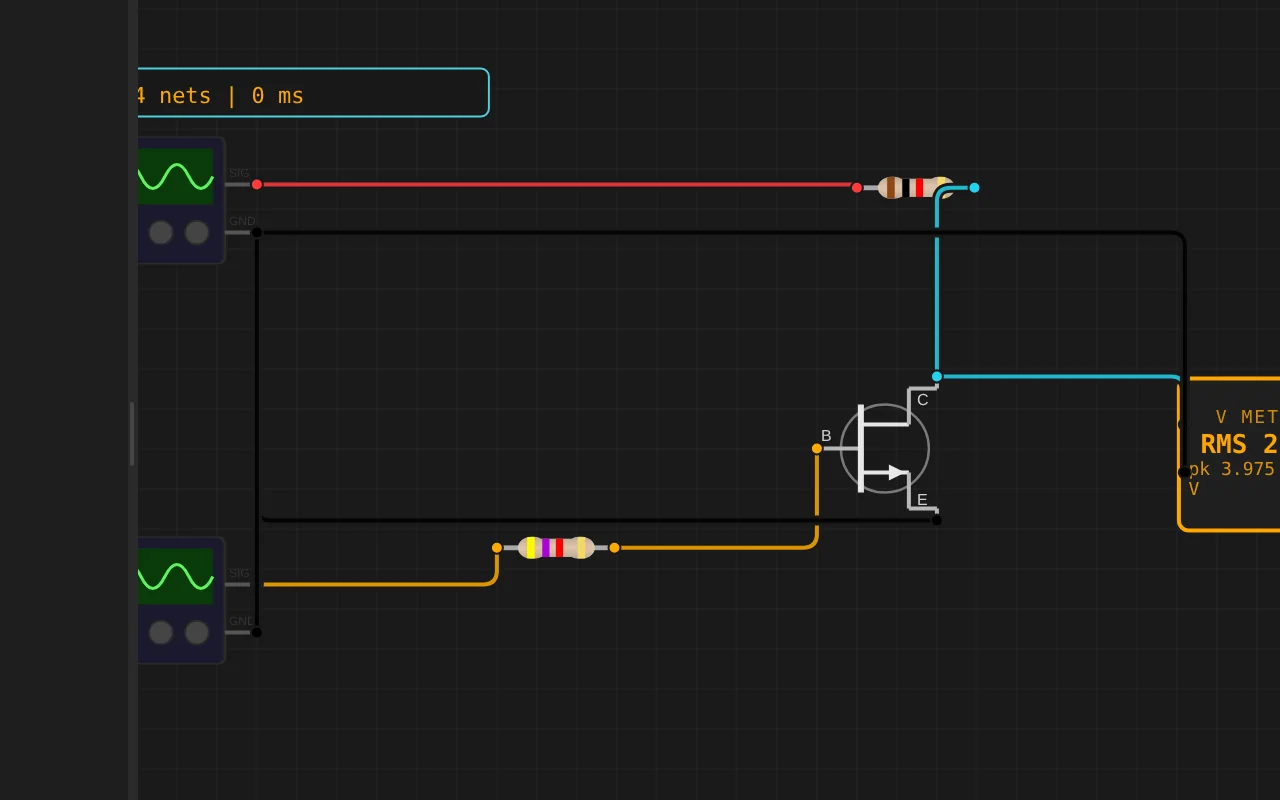
Adders, comparators, decoders, flip-flops and a 1-bit ALU slice: no microcontroller anywhere, just gates, switches and LEDs solved as a real net. The classroom half of electronics, without the breadboard.
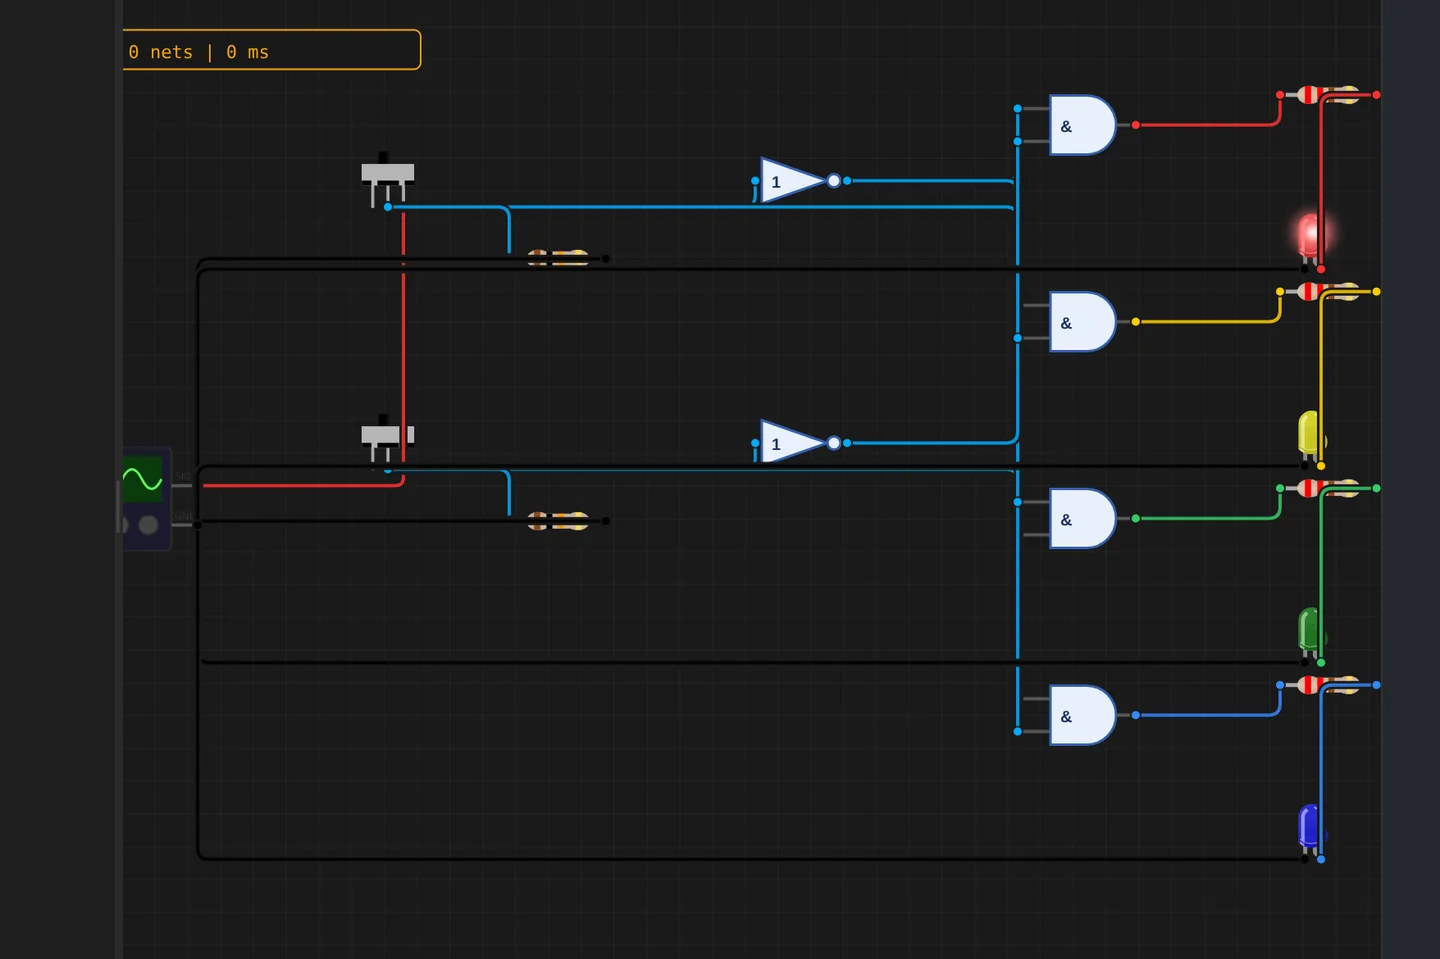
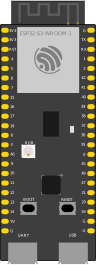
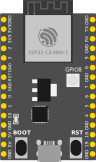
The M5Stack Cardputer with its keyboard, Seeed's round display keeping time, Pimoroni's Badger 2350 driving e-paper, and DFRobot's UNIHIKER M10 in the catalogue alongside them. Their makers sent the hardware so the emulation could be checked against the real thing.
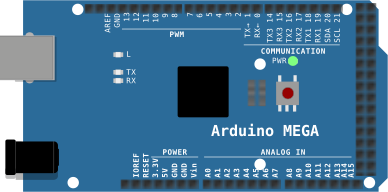
35 boards across 6 CPU architectures — AVR8, ARM Cortex-M, ARM Cortex-A, RISC-V, Xtensa, and Linux. Including partner boards from Pimoroni, M5Stack, Seeed Studio and DFRobot. All running locally, no cloud needed.






One institution contract gives every student in the class a full Pro account. No per-seat checkout, no card details in a classroom.
Private projects, BOM and schematic exports and GitHub Sync, for everyone enrolled.
Billed once to your institution, per semester or per year. Volume pricing on request for large cohorts.
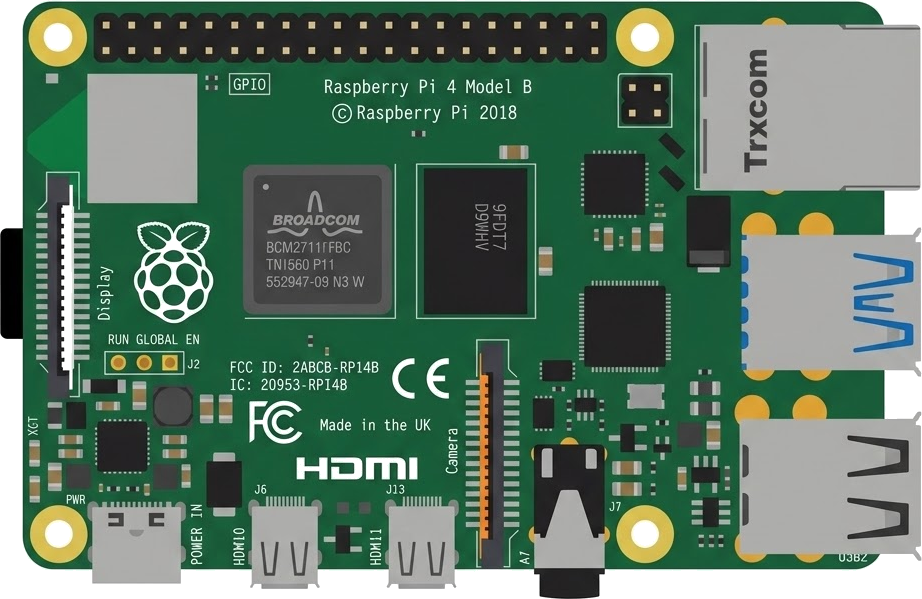
Arduino, ESP32, RP2040, STM32, ATtiny and Raspberry Pi, with SPICE analog solved alongside the firmware. Not a sandboxed mock.
The simulator stays free forever, WiFi with internet included. Paid plans unlock the Linux and STM32 boards, custom WiFi networks and the local network gateway. Maker and Pro add the AI agent; No AI leaves it out.
Discover the simulator + light AI help.
The full workbench, zero AI. You write every line.
For makers shipping real circuits with AI help.
Private projects, GitHub Sync and BOM exports.
Questions, bugs and ideas: the Discord and the issue tracker are open, and so is every line of the simulator.
An interactive Esp32 Devkit C V4 circuit simulation you can run free in your browser on Velxio, by pedroairtonsf.
#include <Arduino.h>
#include <WiFi.h>
#include <WiFiClientSecure.h>
#include <time.h>
#include <PubSubClient.h>
#include <ArduinoJson.h>
#include <string.h>

// =============================================================================
// 1. HARDWARE
// =============================================================================
#define MAX_PERIODOS         10
#define PINO_RELE            26
#define PINO_BOTAO           27
#define PINO_LED             12
#define PINO_VAZAO           18
#define PINO_PLUVIOMETRO     19

// CONFIRME a polaridade do seu módulo de relé.
// Alguns módulos são acionados em LOW, outros em HIGH.
#define RELE_LIGADO          HIGH
#define RELE_DESLIGADO       LOW

// =============================================================================
// 2. WI-FI E THINGSBOARD
// =============================================================================
const char* WIFI_SSID = "Velxio-GUEST";
const char* WIFI_SENHA = ""; // Rede aberta; preencha se sua rede exigir senha.

const char* TB_HOST = "mqtt.thingsboard.cloud";
const uint16_t TB_PORT = 8883; // MQTT com TLS
const char* TB_TOKEN = "CjXH5FQTG2o3D9C80jFj";

// Baixe o certificado CA do diálogo "Check connectivity" do dispositivo
// no ThingsBoard Cloud e cole TODO o conteúdo PEM entre as linhas abaixo.
// Não substitua por setInsecure(): isso desativa a validação do servidor.
static const char TB_ROOT_CA[] PROGMEM = R"CERT(
COLE_AQUI_O_CONTEUDO_PEM_DO_CERTIFICADO_CA
)CERT";

WiFiClientSecure wifiClient;
PubSubClient mqtt(wifiClient);

const unsigned long INTERVALO_RECONEXAO_WIFI = 10000UL;
const unsigned long INTERVALO_RECONEXAO_MQTT = 5000UL;
unsigned long ultimaTentativaWiFi = 0;
unsigned long ultimaTentativaMQTT = 0;
unsigned long ultimaMensagemCertificado = 0;

// =============================================================================
// 3. ESTADO E PERÍODOS DE IRRIGAÇÃO
// =============================================================================
struct Periodo {
    int inicio; // minutos desde 00:00
    int fim;    // minutos desde 00:00
};

Periodo periodos[MAX_PERIODOS];
int quantidadePeriodos = 0;
bool configuracaoRecebida = false;

bool travado = false;
bool estadoBloqueioConhecido = false; // Fail-safe até obter a resposta inicial.
bool ledOnline = false;
bool ligado = false;
bool manualAtivo = false;
bool precisaPublicarEstadoInicial = false;

// =============================================================================
// 4. SENSOR DE VAZÃO YF-S201
// =============================================================================
const float FATOR_CALIBRACAO_VAZAO = 7.5f;
volatile uint32_t pulsosVazao = 0;
float vazaoLmin = 0.0f;
float volumeTotalLitros = 0.0f;

// Protege os dados compartilhados entre loop() e as interrupções no ESP32.
portMUX_TYPE muxSensores = portMUX_INITIALIZER_UNLOCKED;

void IRAM_ATTR contarPulsosVazao() {
    portENTER_CRITICAL_ISR(&muxSensores);
    pulsosVazao++;
    portEXIT_CRITICAL_ISR(&muxSensores);
}

// =========