Arduino, running the sketch you wrote
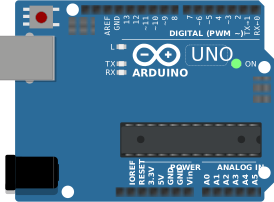
arduino-cli compiles it, an AVR8 core executes it instruction by instruction, and the LCD shows what the ATmega328P actually put on the bus. Uno, Nano, Mega and ATtiny85, no board on your desk.

Hardware is all about iteration. Velxio lets you wire a circuit, program the board and run it in seconds, real firmware on a real solver, right in the browser.





DFRobot · M5Stack links on this page are affiliate links: a purchase through them earns Velxio a small commission at no extra cost to you.
Nothing on this page is a scripted animation: the firmware is compiled and executed, and the circuit around it is solved.
arduino-cli compiles it, an AVR8 core executes it instruction by instruction, and the LCD shows what the ATmega328P actually put on the bus. Uno, Nano, Mega and ATtiny85, no board on your desk.
arduino-cli or ESP-IDF compiles the sketch, then AVR8, RP2040, RISC-V, Xtensa or ARM executes it instruction by instruction. What the OLED draws and what the serial monitor prints is what the chip actually did.

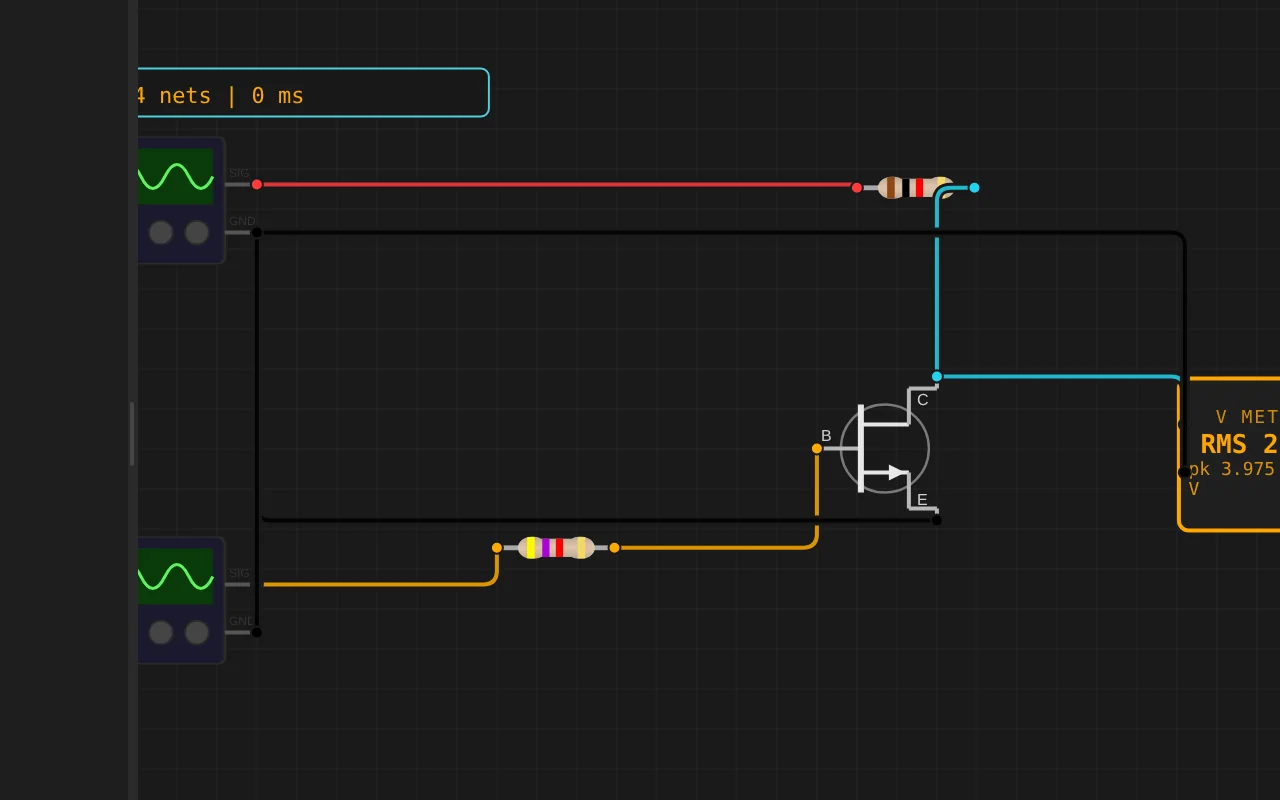
ngspice compiled to WebAssembly runs a full nodal analysis about 60 times a second. GPIO pins drive real nets, ADC inputs read solved node voltages, and probes report RMS, DC and current wherever you drop them.
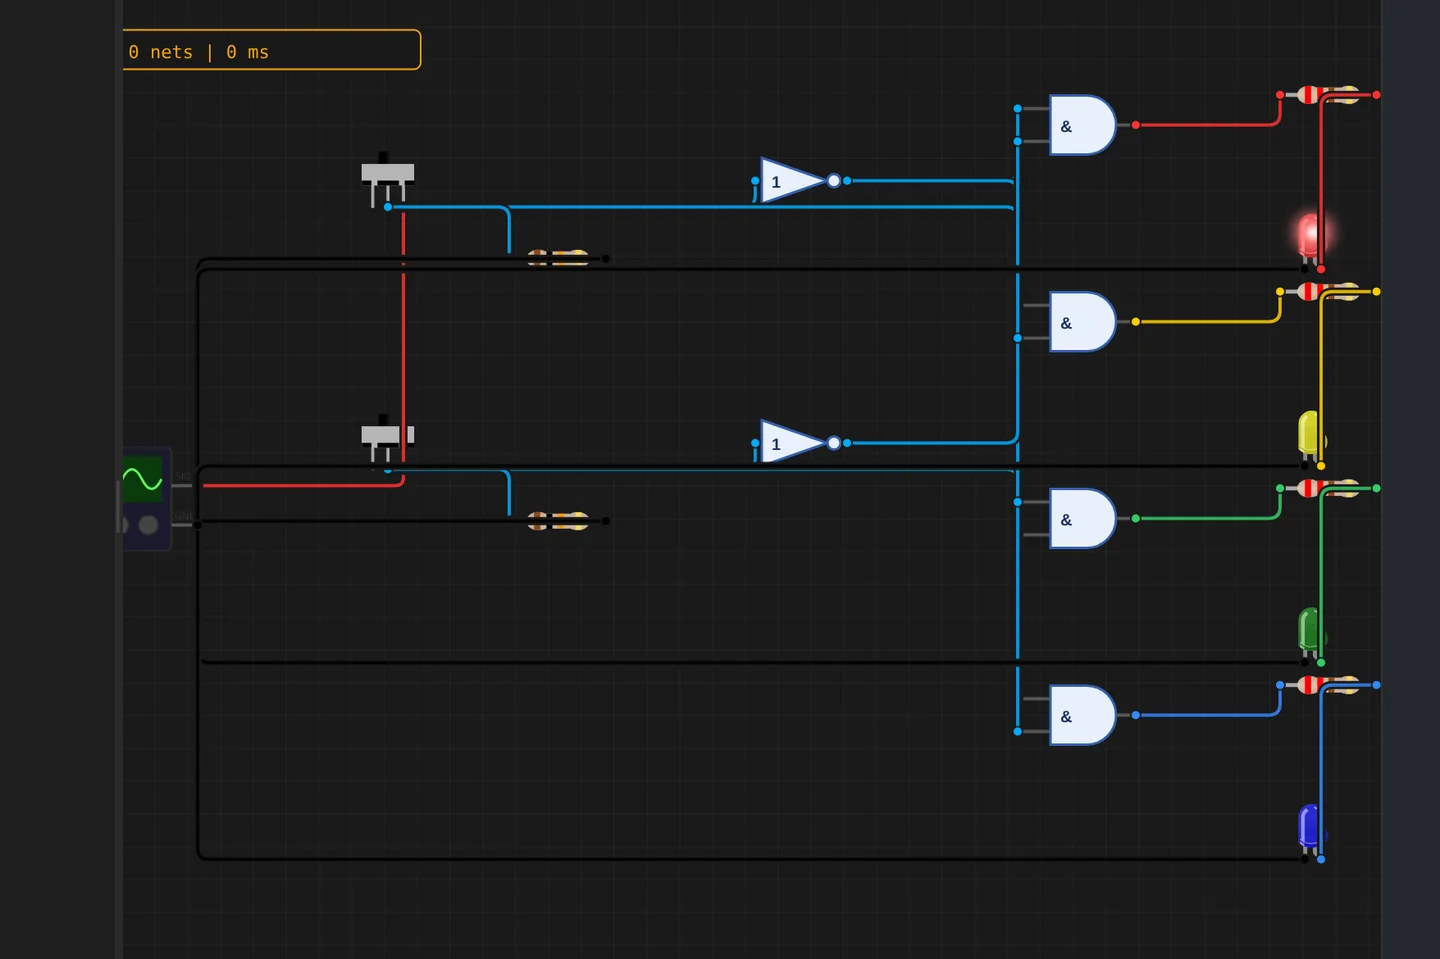
Adders, comparators, decoders, flip-flops and a 1-bit ALU slice: no microcontroller anywhere, just gates, switches and LEDs solved as a real net. The classroom half of electronics, without the breadboard.
The M5Stack Cardputer with its keyboard, Seeed's round display keeping time, Pimoroni's Badger 2350 driving e-paper, and DFRobot's UNIHIKER M10 in the catalogue alongside them. Their makers sent the hardware so the emulation could be checked against the real thing.
35 boards across 6 CPU architectures — AVR8, ARM Cortex-M, ARM Cortex-A, RISC-V, Xtensa, and Linux. Including partner boards from Pimoroni, M5Stack, Seeed Studio and DFRobot. All running locally, no cloud needed.






One institution contract gives every student in the class a full Pro account. No per-seat checkout, no card details in a classroom.
Private projects, BOM and schematic exports, GitHub Sync and the offline desktop app, for everyone enrolled.
Billed once to your institution, per semester or per year. Volume pricing on request for large cohorts.
Arduino, ESP32, RP2040, STM32, ATtiny and Raspberry Pi, with SPICE analog solved alongside the firmware. Not a sandboxed mock.
The simulator stays free forever, WiFi with internet included. Paid plans unlock the Linux and STM32 boards, custom WiFi networks, the local network gateway and the offline desktop app. Maker and Pro add the AI agent; No AI leaves it out.
Discover the simulator + light AI help.
The full workbench, zero AI. You write every line.
For makers shipping real circuits with AI help.
Private projects, GitHub Sync and BOM exports.
Questions, bugs and ideas: the Discord and the issue tracker are open, and so is every line of the simulator.
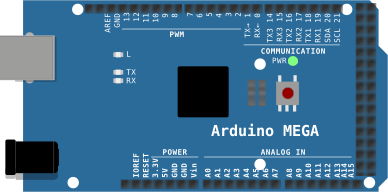
An interactive Arduino Mega circuit simulation you can run free in your browser on Velxio, by mj9178666.
#include <Keypad.h>
#include <Wire.h>
#include <Adafruit_GFX.h>
#include <Adafruit_SSD1306.h>
#include <LedControl.h>
#include <DHT.h>
#include <Servo.h>

// ================= 引脚定义 =================
// 1. 矩阵键盘
const byte ROWS = 4, COLS = 4;
char keys[ROWS][COLS] = {
  {'1','2','3','A'}, {'4','5','6','B'},
  {'7','8','9','C'}, {'*','0','#','D'}
};
byte rowPins[ROWS] = {9, 8, 7, 6};
byte colPins[COLS] = {5, 4, 3, 2};
Keypad keypad = Keypad(makeKeymap(keys), rowPins, colPins, ROWS, COLS);

// 2. OLED
Adafruit_SSD1306 display(128, 64, &Wire, -1);

// 3. 点阵屏 (DIN=51, CLK=52, CS=53)
LedControl lc = LedControl(51, 52, 53, 1);

// 4. 传感器与执行器
#define DHTPIN 22
#define DHTTYPE DHT22
DHT dht(DHTPIN, DHTTYPE);

const int PIR_PIN = 23;
const int LDR_PIN = A0;
const int MQ2_PIN = A1;

const int BTN_DOOR = 24;   // 门铃
const int BTN_SOS = 25;    // 紧急求助

const int RELAY_FAN = 26;  // 风扇继电器
const int BUZZER = 28;     // 蜂鸣器
const int LED_STATUS = 29; // 状态指示灯 (新增的第7个输出)
const int SERVO_PIN = 11;  // 窗帘舵机

const int PIN_R = 44;      // RGB 照明灯
const int PIN_G = 45;
const int PIN_B = 46;

Servo curtain;

// ================= 系统变量 =================
String inputPassword = "";
const String MASTER_PWD = "1234";
bool armed = false;
int pwdErrorCount = 0;

// 非阻塞定时器变量
unsigned long lastEnvRead = 0;
unsigned long lastBlink = 0;
unsigned long lastAlarmBeep = 0;
bool ledBlinkState = false;
bool isAlarming = false;
String alarmSource = "";

// 点阵报警图标 (感叹号)
byte alarmIcon[8] = {0x18, 0x18, 0x18, 0x18, 0x18, 0x00, 0x18, 0x00};

void setup() {
  Serial.begin(9600);
  dht.begin();

  // 输入引脚配置
  pinMode(PIR_PIN, INPUT);
  pinMode(BTN_DOOR, INPUT_PULLUP);
  pinMode(BTN_SOS, INPUT_PULLUP);

  // 输出引脚配置
  pinMode(RELAY_FAN, OUTPUT);
  pinMode(BUZZER, OUTPUT);
  pinMode(LED_STATUS, OUTPUT);
  pinMode(PIN_R, OUTPUT);
  pinMode(PIN_G, OUTPUT);
  pinMode(PIN_B, OUTPUT);

  digitalWrite(RELAY_FAN, LOW);
  digitalWrite(BUZZER, LOW);
  digitalWrite(LED_STATUS, LOW);

  curtain.attach(SERVO_PIN);
  curtain.write(0); // 初始窗帘关闭

  // OLED 初始化
  display.begin(SSD1306_SWITCHCAPVCC, 0x3C);
  display.clearDisplay();
  display.setTextSize(1);
  display.setTextColor(SSD1306_WHITE);
  display.setCursor(0, 0);
  display.println("Smart Home System");
  display.println("Status: DISARMED");
  display.println("Enter Pwd + '#'");
  display.display();

  // 点阵初始化
  lc.shutdown(0, false);
  lc.setIntensity(0, 8);
  lc.clearDisplay(0);
  Serial.begin(9600);
// ... 其他初始化代码 ...
Serial.println("=== Smart Home System Started ===");
}

void loop() {
  // 1. 处理矩阵键盘输入
  char key = keypad.getKey();
  if (key) handleKeypad(key);

  // 2. 处理独立按键(门铃和SOS)
  if (digitalRead(BTN_DOOR) == LOW) {
    tone(BUZZER, 1000, 200); // 门铃短鸣
    delay(300); // 简单防抖
  }
  if (digitalRead(BTN_SOS) == LOW) {
    if (!armed) {
      armed = true; // 紧急求助自动布防并报警
      triggerAlarm("SOS BUTTON");
    }
    delay(300);
  }

  // 3. 状态指示灯控制
  if (armed) {
    // 布防状态:指示灯慢闪
    if (millis() - lastBlink > 1000) {
      lastBlink = mi