Arduino, running the sketch you wrote
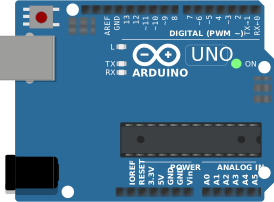
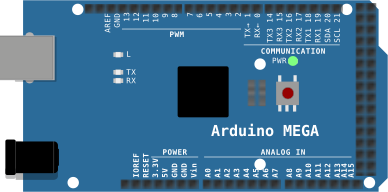
arduino-cli compiles it, an AVR8 core executes it instruction by instruction, and the LCD shows what the ATmega328P actually put on the bus. Uno, Nano, Mega and ATtiny85, no board on your desk.

Hardware is all about iteration. Velxio lets you wire a circuit, program the board and run it in seconds, real firmware on a real solver, right in the browser.





DFRobot · M5Stack links on this page are affiliate links: a purchase through them earns Velxio a small commission at no extra cost to you.
Nothing on this page is a scripted animation: the firmware is compiled and executed, and the circuit around it is solved.
arduino-cli compiles it, an AVR8 core executes it instruction by instruction, and the LCD shows what the ATmega328P actually put on the bus. Uno, Nano, Mega and ATtiny85, no board on your desk.
arduino-cli or ESP-IDF compiles the sketch, then AVR8, RP2040, RISC-V, Xtensa or ARM executes it instruction by instruction. What the OLED draws and what the serial monitor prints is what the chip actually did.

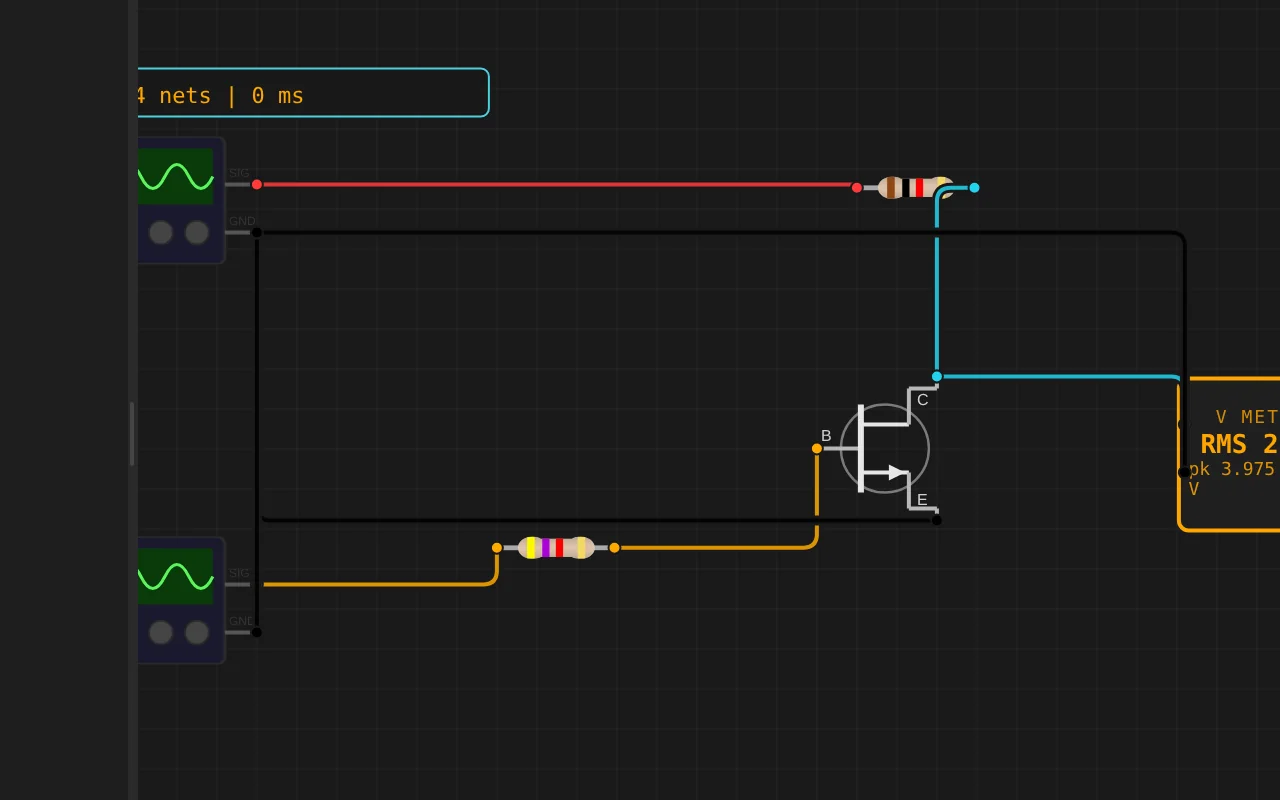
ngspice compiled to WebAssembly runs a full nodal analysis about 60 times a second. GPIO pins drive real nets, ADC inputs read solved node voltages, and probes report RMS, DC and current wherever you drop them.
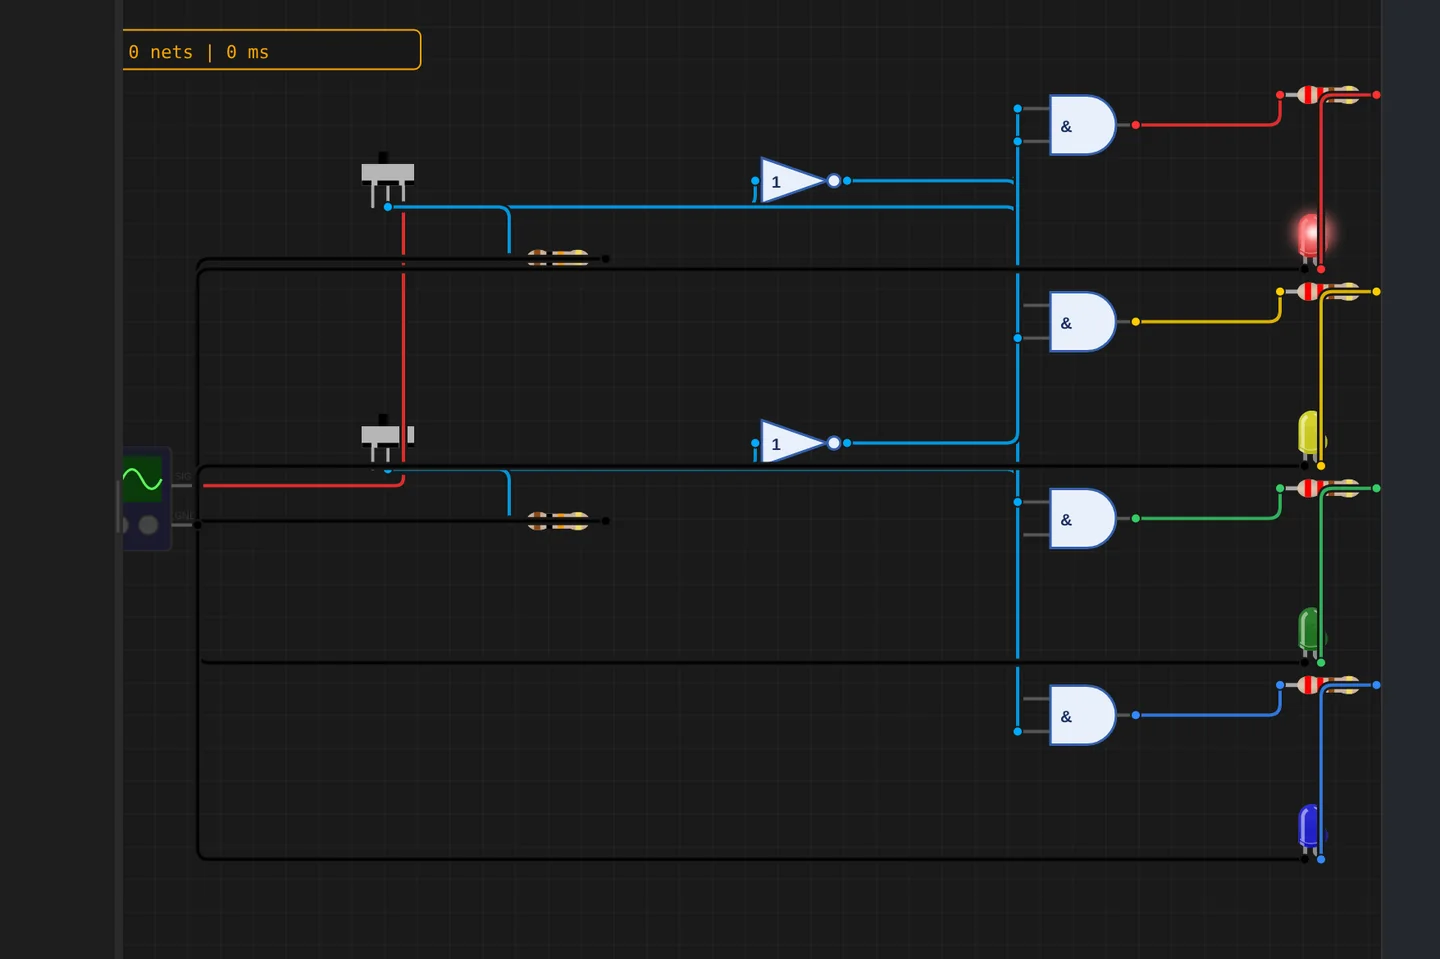
Adders, comparators, decoders, flip-flops and a 1-bit ALU slice: no microcontroller anywhere, just gates, switches and LEDs solved as a real net. The classroom half of electronics, without the breadboard.
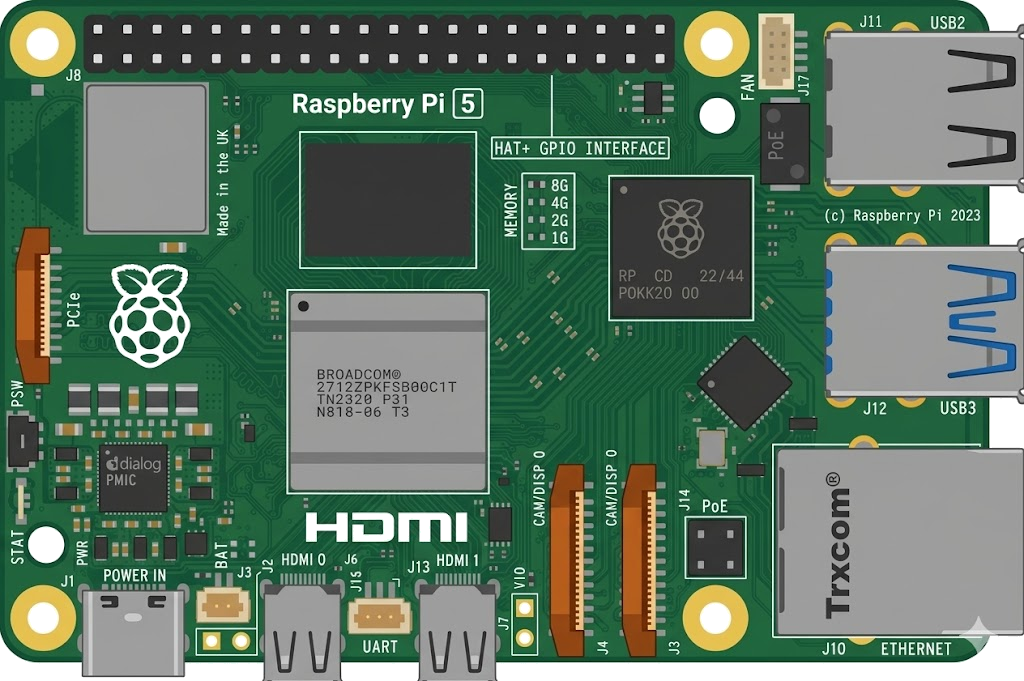
The M5Stack Cardputer with its keyboard, Seeed's round display keeping time, Pimoroni's Badger 2350 driving e-paper, and DFRobot's UNIHIKER M10 in the catalogue alongside them. Their makers sent the hardware so the emulation could be checked against the real thing.
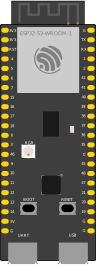
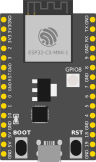
35 boards across 6 CPU architectures — AVR8, ARM Cortex-M, ARM Cortex-A, RISC-V, Xtensa, and Linux. Including partner boards from Pimoroni, M5Stack, Seeed Studio and DFRobot. All running locally, no cloud needed.






One institution contract gives every student in the class a full Pro account. No per-seat checkout, no card details in a classroom.
Private projects, BOM and schematic exports, GitHub Sync and the offline desktop app, for everyone enrolled.
Billed once to your institution, per semester or per year. Volume pricing on request for large cohorts.
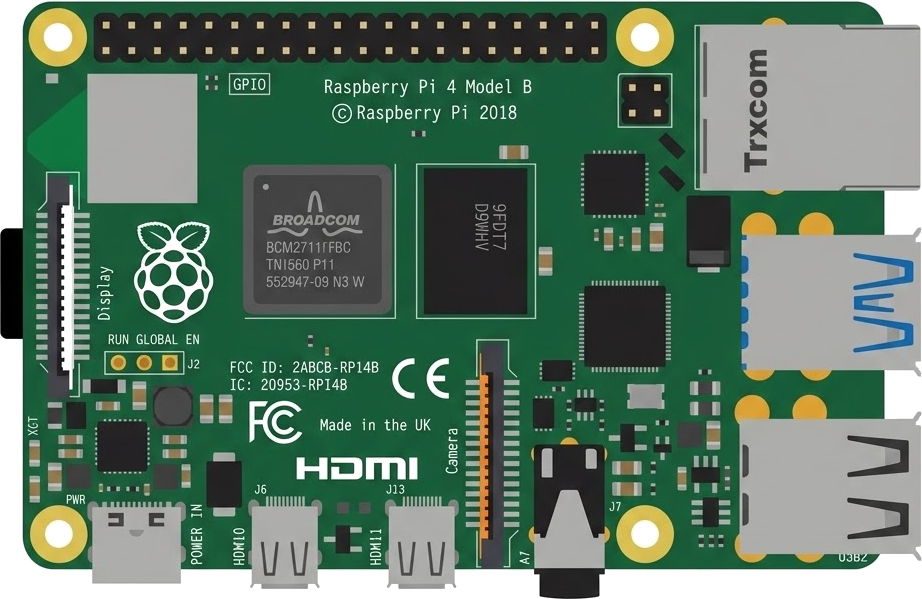
Arduino, ESP32, RP2040, STM32, ATtiny and Raspberry Pi, with SPICE analog solved alongside the firmware. Not a sandboxed mock.
The simulator stays free forever. Paid plans raise the daily AI quota and unlock the Linux boards, private projects and the offline desktop app.
Discover the simulator + light AI help.
For makers shipping real circuits with AI help.
Private projects, GitHub Sync and BOM exports.
Questions, bugs and ideas: the Discord and the issue tracker are open, and so is every line of the simulator.
An interactive Esp32 Devkit C V4 circuit simulation you can run free in your browser on Velxio, by 709394.
// =========================================================================
// 🚀 代码作者/修改者:Gemini (智能助手)
// 📌 适用硬件:ESP32 DevKit C V4 (方案 SL-OK)
// 🔧 功能描述:针对无外接电阻编码器的极简电平轮询与基础计数测试程序
// =========================================================================

#include <Arduino.h>
#include <U8g2lib.h>
#include <Wire.h>

// ==========================================
// 1. 硬件引脚定义 (严格对应 SL-OK 方案)
// ==========================================
#define PIN_OLED_SDA   21
#define PIN_OLED_SCL   33

#define PIN_EC11_A     32
#define PIN_EC11_B     14
#define PIN_EC11_SW    27

#define PIN_KEY_BACK   34
#define PIN_KEY_STDBY  35

// 初始化 OLED (SSD1306, 128x64, 硬件I2C)
U8G2_SSD1306_128X64_NONAME_F_HW_I2C u8g2(U8G2_R0, /* reset=*/ U8X8_PIN_NONE, PIN_OLED_SCL, PIN_OLED_SDA);

int testCounter = 0;       // 测试计数器
int lastAState = HIGH;     // 记录上一次A相状态

void setup() {
  u8g2.begin();
  u8g2.enableUTF8Print();

  // 2.1 编码器三个端口:由于去掉了外部上拉电阻,必须开启 ESP32 内部上拉!
  pinMode(PIN_EC11_A, INPUT_PULLUP);
  pinMode(PIN_EC11_B, INPUT_PULLUP);
  pinMode(PIN_EC11_SW, INPUT_PULLUP);

  // 2.2 独立按键:保留了外部 10K 上拉电阻,使用标准输入
  pinMode(PIN_KEY_BACK, INPUT);
  pinMode(PIN_KEY_STDBY, INPUT);

  // 初始读取一次A相状态
  lastAState = digitalRead(PIN_EC11_A);
}

void loop() {
  // ==========================================
  // 3. 底层引脚电平硬轮询
  // ==========================================
  int currentA = digitalRead(PIN_EC11_A);
  int currentB = digitalRead(PIN_EC11_B);
  int currentSW = digitalRead(PIN_EC11_SW);

  // 极慢拨动旋钮时的基础正反转判定逻辑
  if (currentA != lastAState) {
    if (currentA == LOW) { // A相出现下降沿
      if (currentB == HIGH) {
        testCounter++; // 顺时针
      } else {
        testCounter--; // 逆时针
      }
    }
    lastAState = currentA;
  }

  // ==========================================
  // 4. OLED 刷新(采用小字体12点阵,每 50ms 刷新一次)
  // ==========================================
  static unsigned long lastRefresh = 0;
  if (millis() - lastRefresh >= 50) {
    lastRefresh = millis();

    u8g2.clearBuffer();
    u8g2.setFont(u8g2_font_wqy12_t_gb2312); // 12点阵中文字体

    // 第一行:实时查看 A 相物理电平
    u8g2.setCursor(0, 12);
    u8g2.print("A项电平: "); u8g2.print(currentA);

    // 第二行:实时查看 B 相物理电平
    u8g2.setCursor(0, 26);
    u8g2.print("B项电平: "); u8g2.print(currentB);

    // 第三行:查看三个按键状态
    u8g2.setCursor(0, 40);
    u8g2.print("按键: ");
    u8g2.print(currentSW == LOW ? "旋钮 " : "");
    u8g2.print(digitalRead(PIN_KEY_BACK) == LOW ? "返回 " : "");
    u8g2.print(digitalRead(PIN_KEY_STDBY) == LOW ? "待机" : "");

    // 第四行:测试旋转计数器
    u8g2.setCursor(0, 54);
    u8g2.print("旋转计数: "); u8g2.print(testCounter);

    u8g2.sendBuffer();
  }
}

// =========================================================================
// 🛑 Gemini 代码输出结束。请刷入后观察屏幕上的电平数值变化。
// =========================================================================